Moodle’s Kaltura Media Gallery
Article sections
The Kaltura Media Gallery block enables users to view videos uploaded to Kaltura in a common media gallery in the Moodle course area. The gallery forms a playlist for the videos of the course area. More information about other ways of grouping videos: instruction.
Use the Media Gallery block when
- you want to build an internal playlist implementation of videos in the Moodle course area alone or together with other students or teachers
- you want to take advantage of analytics compiled from watched videos
- you want to use the same entity also with other implementations using the import function
Students and teachers can therefore download videos as usual to Kaltura and upload their own videos to other users of the course area to be viewed via the Media Gallery function.
The teacher can also use the media gallery as a playlist of his own videos. In this case, the videos uploaded to Kaltura can be, for example, in private mode, and the media gallery can be used to collect educational videos created around a certain topic. You can copy the media gallery directly from your own course area to another course area where you work as a teacher.
Based on watching the videos in the media gallery, easy-to-glance and take-over analytics are produced for the teachers of the course area. More information from Kaltura’s pages a>.
More information on using the Kaltura Media Gallery block in general: https://learning .mediaspace.kaltura.com/media/Moodle+Chapter+2A+Course+Media+Gallery/1_9lzfn31m/80498092
Media Gallery -area
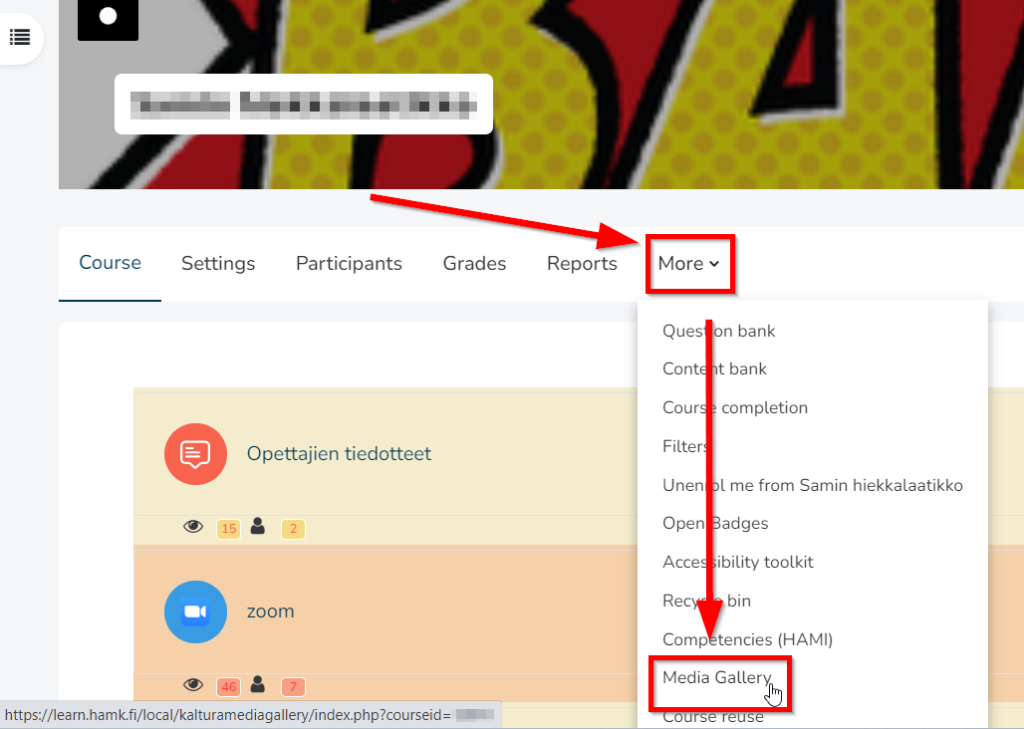
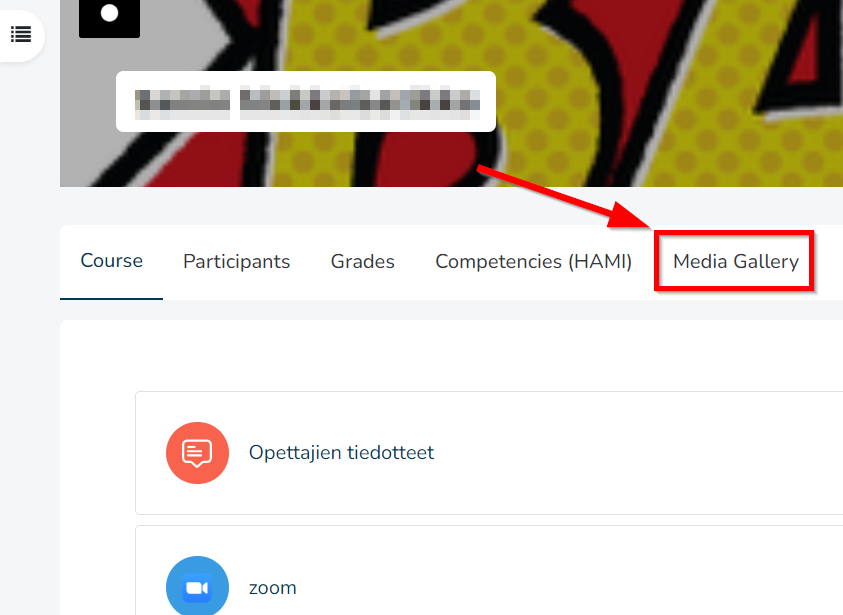
Every course area in Moodle has a Media Gallery area. You can find it by clicking on the Current Course > Media Gallery.
Adding videos to the Media Gallery
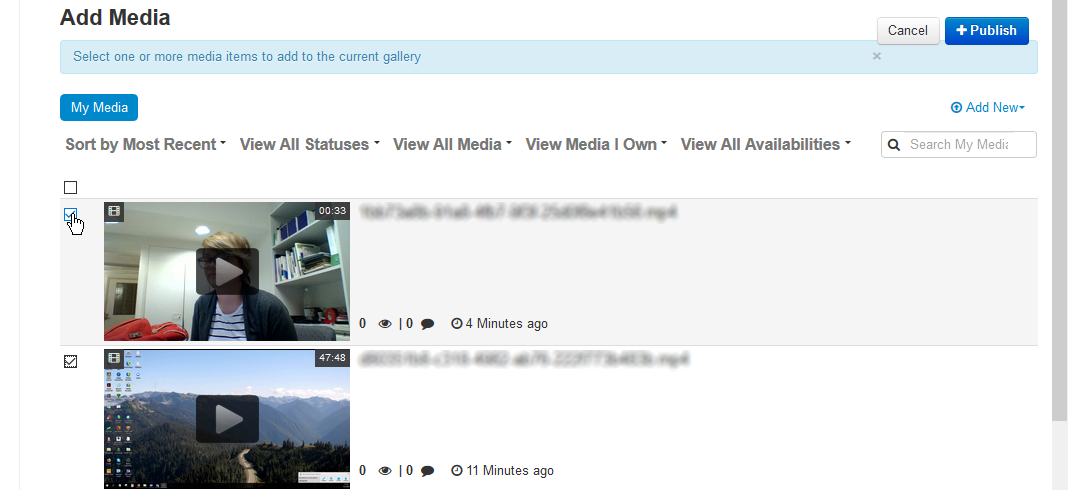
The user can add videos to the video gallery with the blue Add Media button. Videos uploaded by the user to Kaltura will appear in the window.
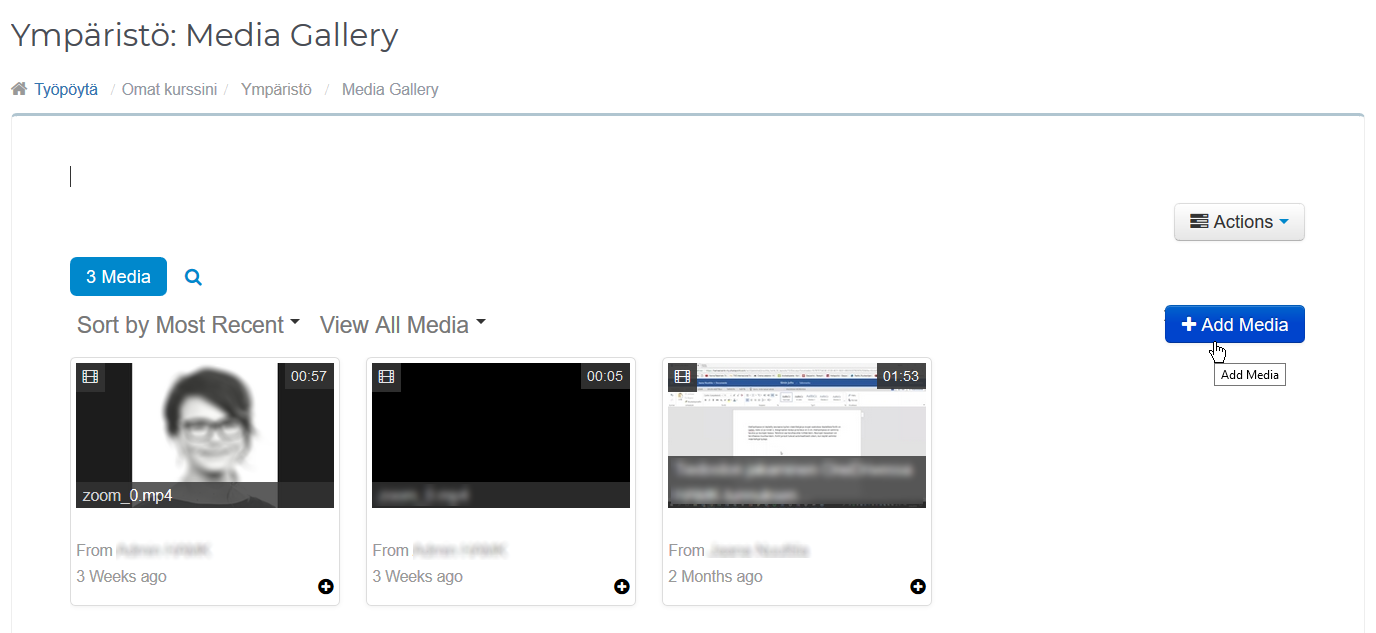
Select the videos you want using the check-in-the-box method. Then select Publish. The videos will appear in the media gallery.
Video metadata editing via the media gallery
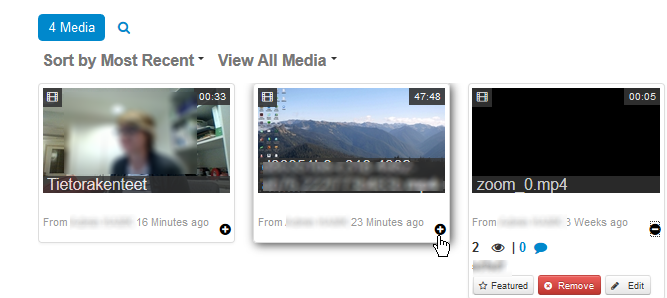
You can edit the information of the videos you upload yourself, such as the title and description, via the media gallery. You can bring up the video management buttons by clicking the small plus button. The information is also updated in Kaltura.
Removing a video from the media gallery
You can remove the video you uploaded yourself from the media gallery. You can bring up the video management buttons by clicking the small plus button.
Note! Removing a video from the media gallery only removes it from this Moodle gallery view, not from Kaltura!
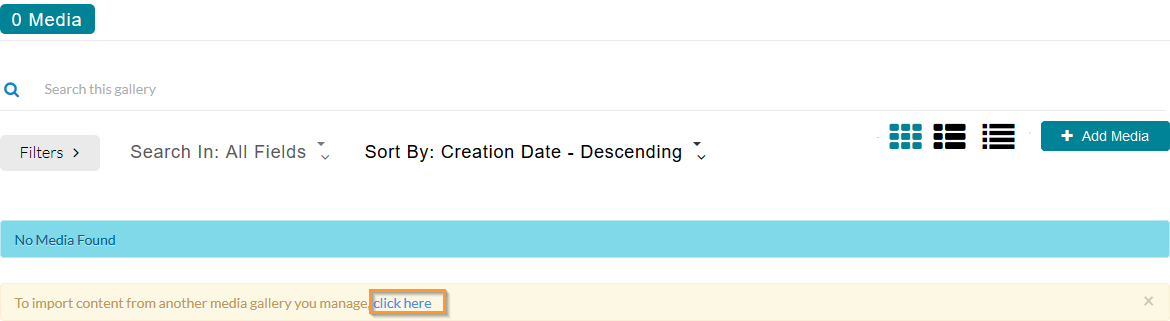
Copying the media gallery created in a course area to another course area
You can copy the once created media gallery to another course area with the Import function. Go to the course area where you want to import the media gallery. Open the media gallery. Press the click here link.
Uploading a video to Kaltura through the Media Gallery window
If you have not yet uploaded the required video via the kaltura.hamk.fi website, you can also upload it to Kaltura via the media gallery.
Select Add Media. Select the Add New button.
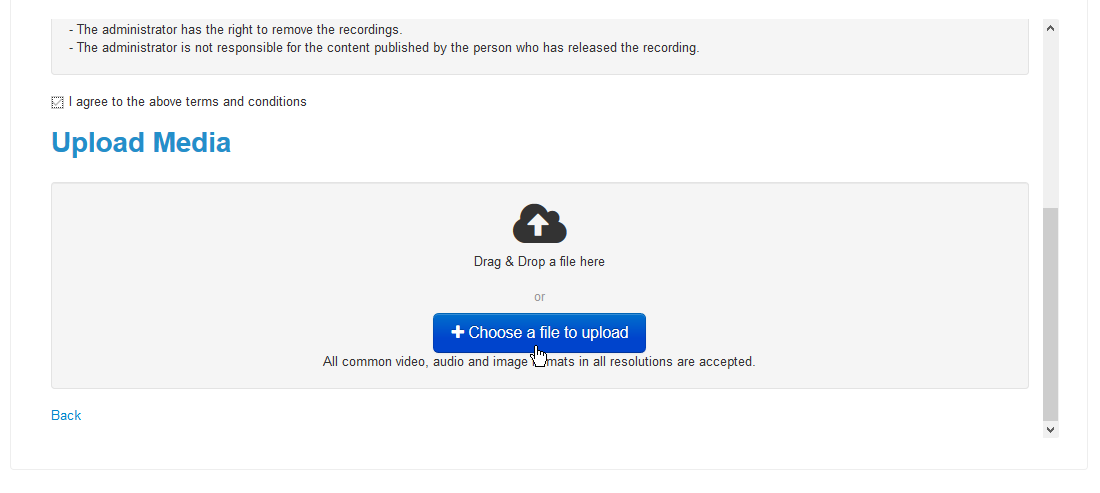
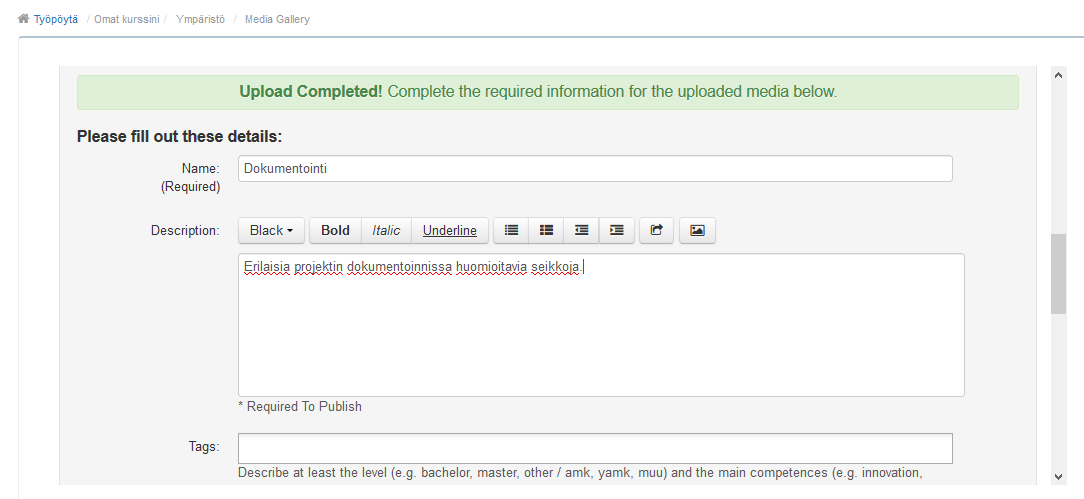
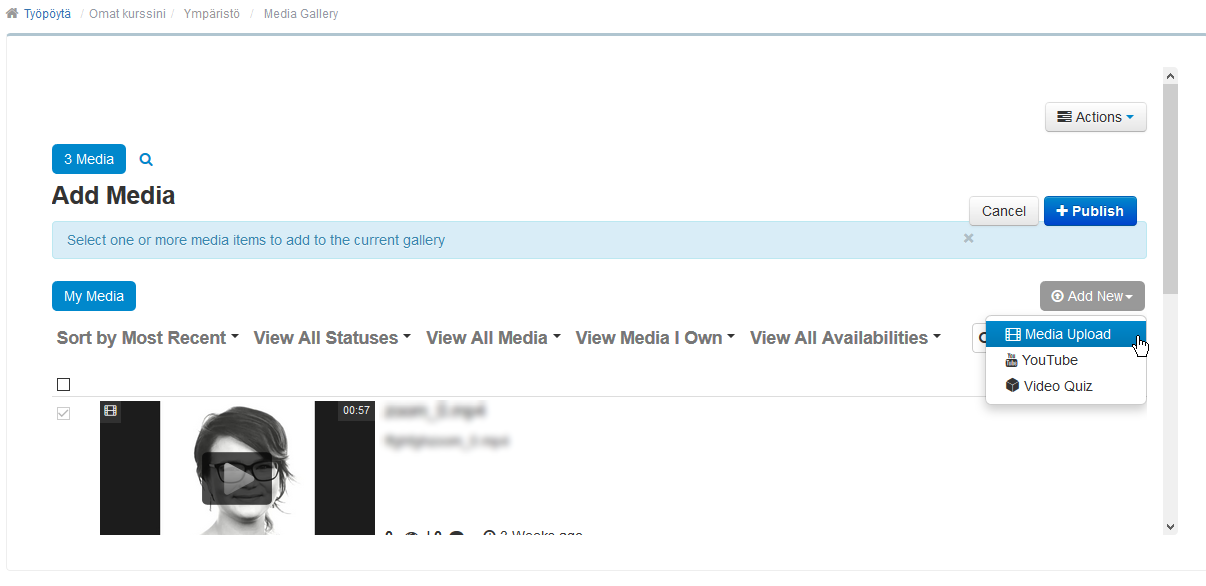 Accept the terms of use and select the appropriate video file from the Choose file button. Video download to Kaltura begins. The metadata form that opens must be filled in at least
- title
- description
- license
When the video has loaded and you have filled in at least the information mentioned above, you can save the video and the information using the Save button.
After that, you can add the video to the media gallery using the Add Media button. Select the videos you want using the check-in-the-box method. Then select Publish. The videos will appear in the media gallery.