Kaltura channel playlists
Article sections
The Kaltura video service has different ways of classifying and grouping videos. One way is to use the channel’s internal playlists.
Use channel playlists when:
- You want to create a playlist within the channel and structure the contents of the channel in the order you want..
Quick instructions:
- Log in to Kaltura. Go to the channel you want to create a playlist for.
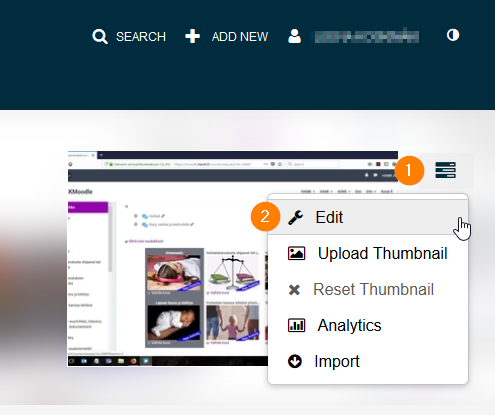
- Open the setting menu. Select Edit.
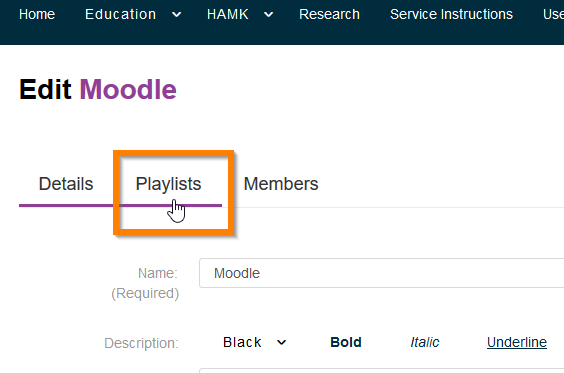
- Open the Playlists tab.
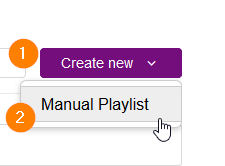
- Select “Manual playlist” from the Add New button
- Name the channel and check the channel description
- Add the desired media content from the channel content with the Add button. You can change the order of the videos in the right edge view by dragging.
- Save with the Save button.
- Link or embed a playlist.
Creating a channel playlist
- Log in to Kaltura. Go to the channel you want to create a playlist for. The channel can be in the User channels category or in connection with another public category.
2. Open the settings menu. Select Edit.
3. Open the Playlists tab.
4. Select “Manual playlist” from the Create new button
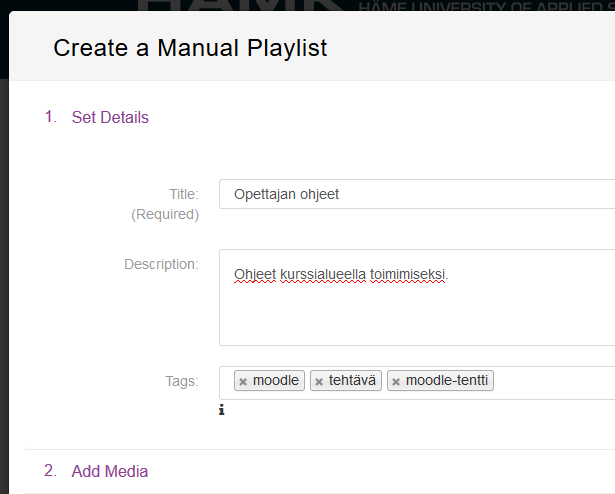
5. Name the channel and check the channel description. Use tags if you want.
Adding videos to a channel playlist
6. Open the channel’s playlist management according to points 1-3 of the instructions. Find the channel playlist in the listing where you want to add content. Open editing from the pen button.

Add the desired media content from the channel content with the Add button. You can change the order of the videos in the right edge view by dragging.
7. Save with the Save button.
Channel playlist sharing
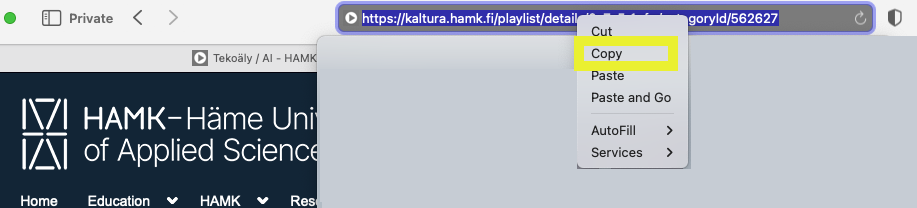
8. Link the playlist from the address bar by copying and pasting where you want.
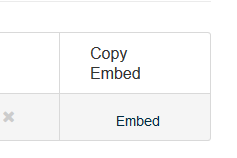
Embed the playlist from the Playlist tab of the channel edit view. With the Embed button, you get the html code that can be pasted elsewhere.