Using the Wave plugin

Article sections
Addition of extension
- Go to the Add Wave plugin page: https://chrome.google.com/webstore/detail/wave-evaluation-tool/jbbplnpkjmmeebjpijfedlgcdilocofh/related
- Select “Add to Chrome”.

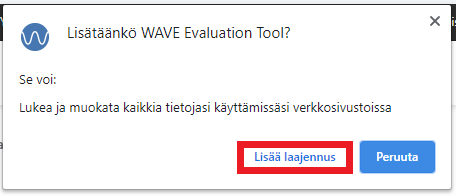
- The browser may ask for confirmation in order to add the extension, where you have to select “Add extension” again.
Checking accessibility using the Wave plugin
- Go to the page to be tested
- Press the Wave extension button in the upper right corner of the browser.

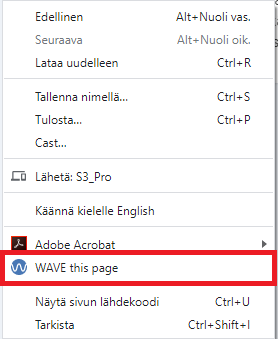
(Alternatively, you can press the page with the right mouse button and select “Wave this page”)
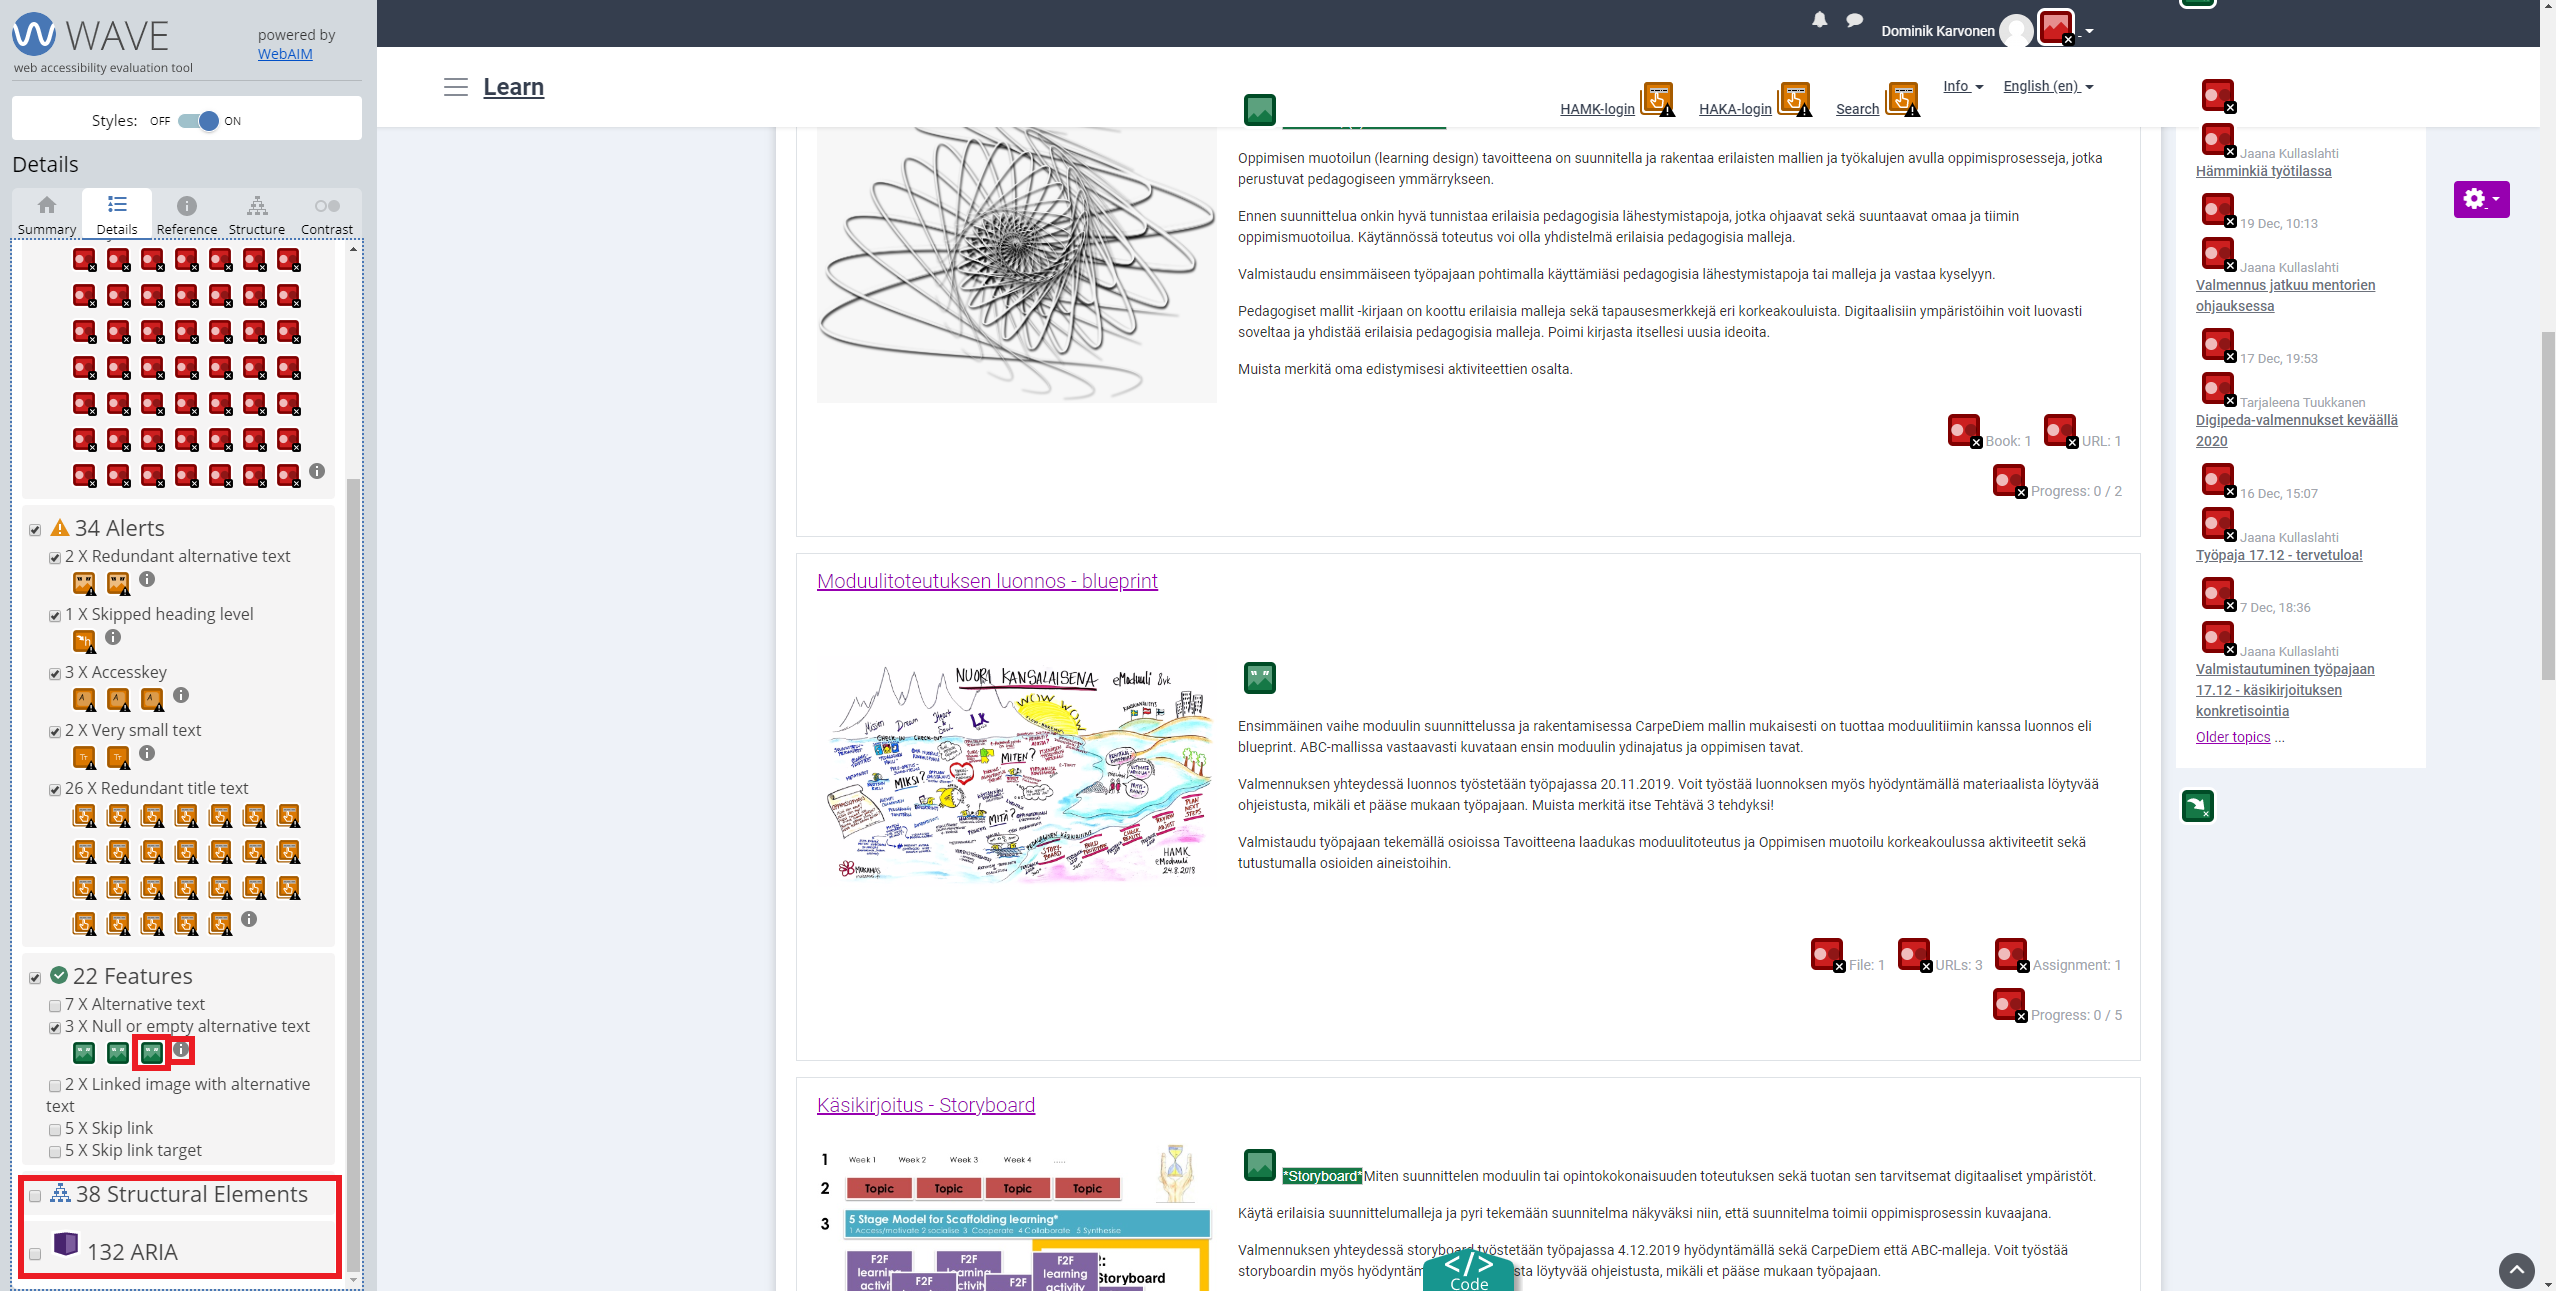
- Once activated, the Wave plugin displays the accessibility assessment results on the left side of the page. The main page of the Moodle workspace of a single module is used in the following example. There are several different tabs/tools in the view, which are: Details = (Detailed defects), Reference = (Detailed information about defects), Structure = (Site structure) and Contrast = (Contrast tool).
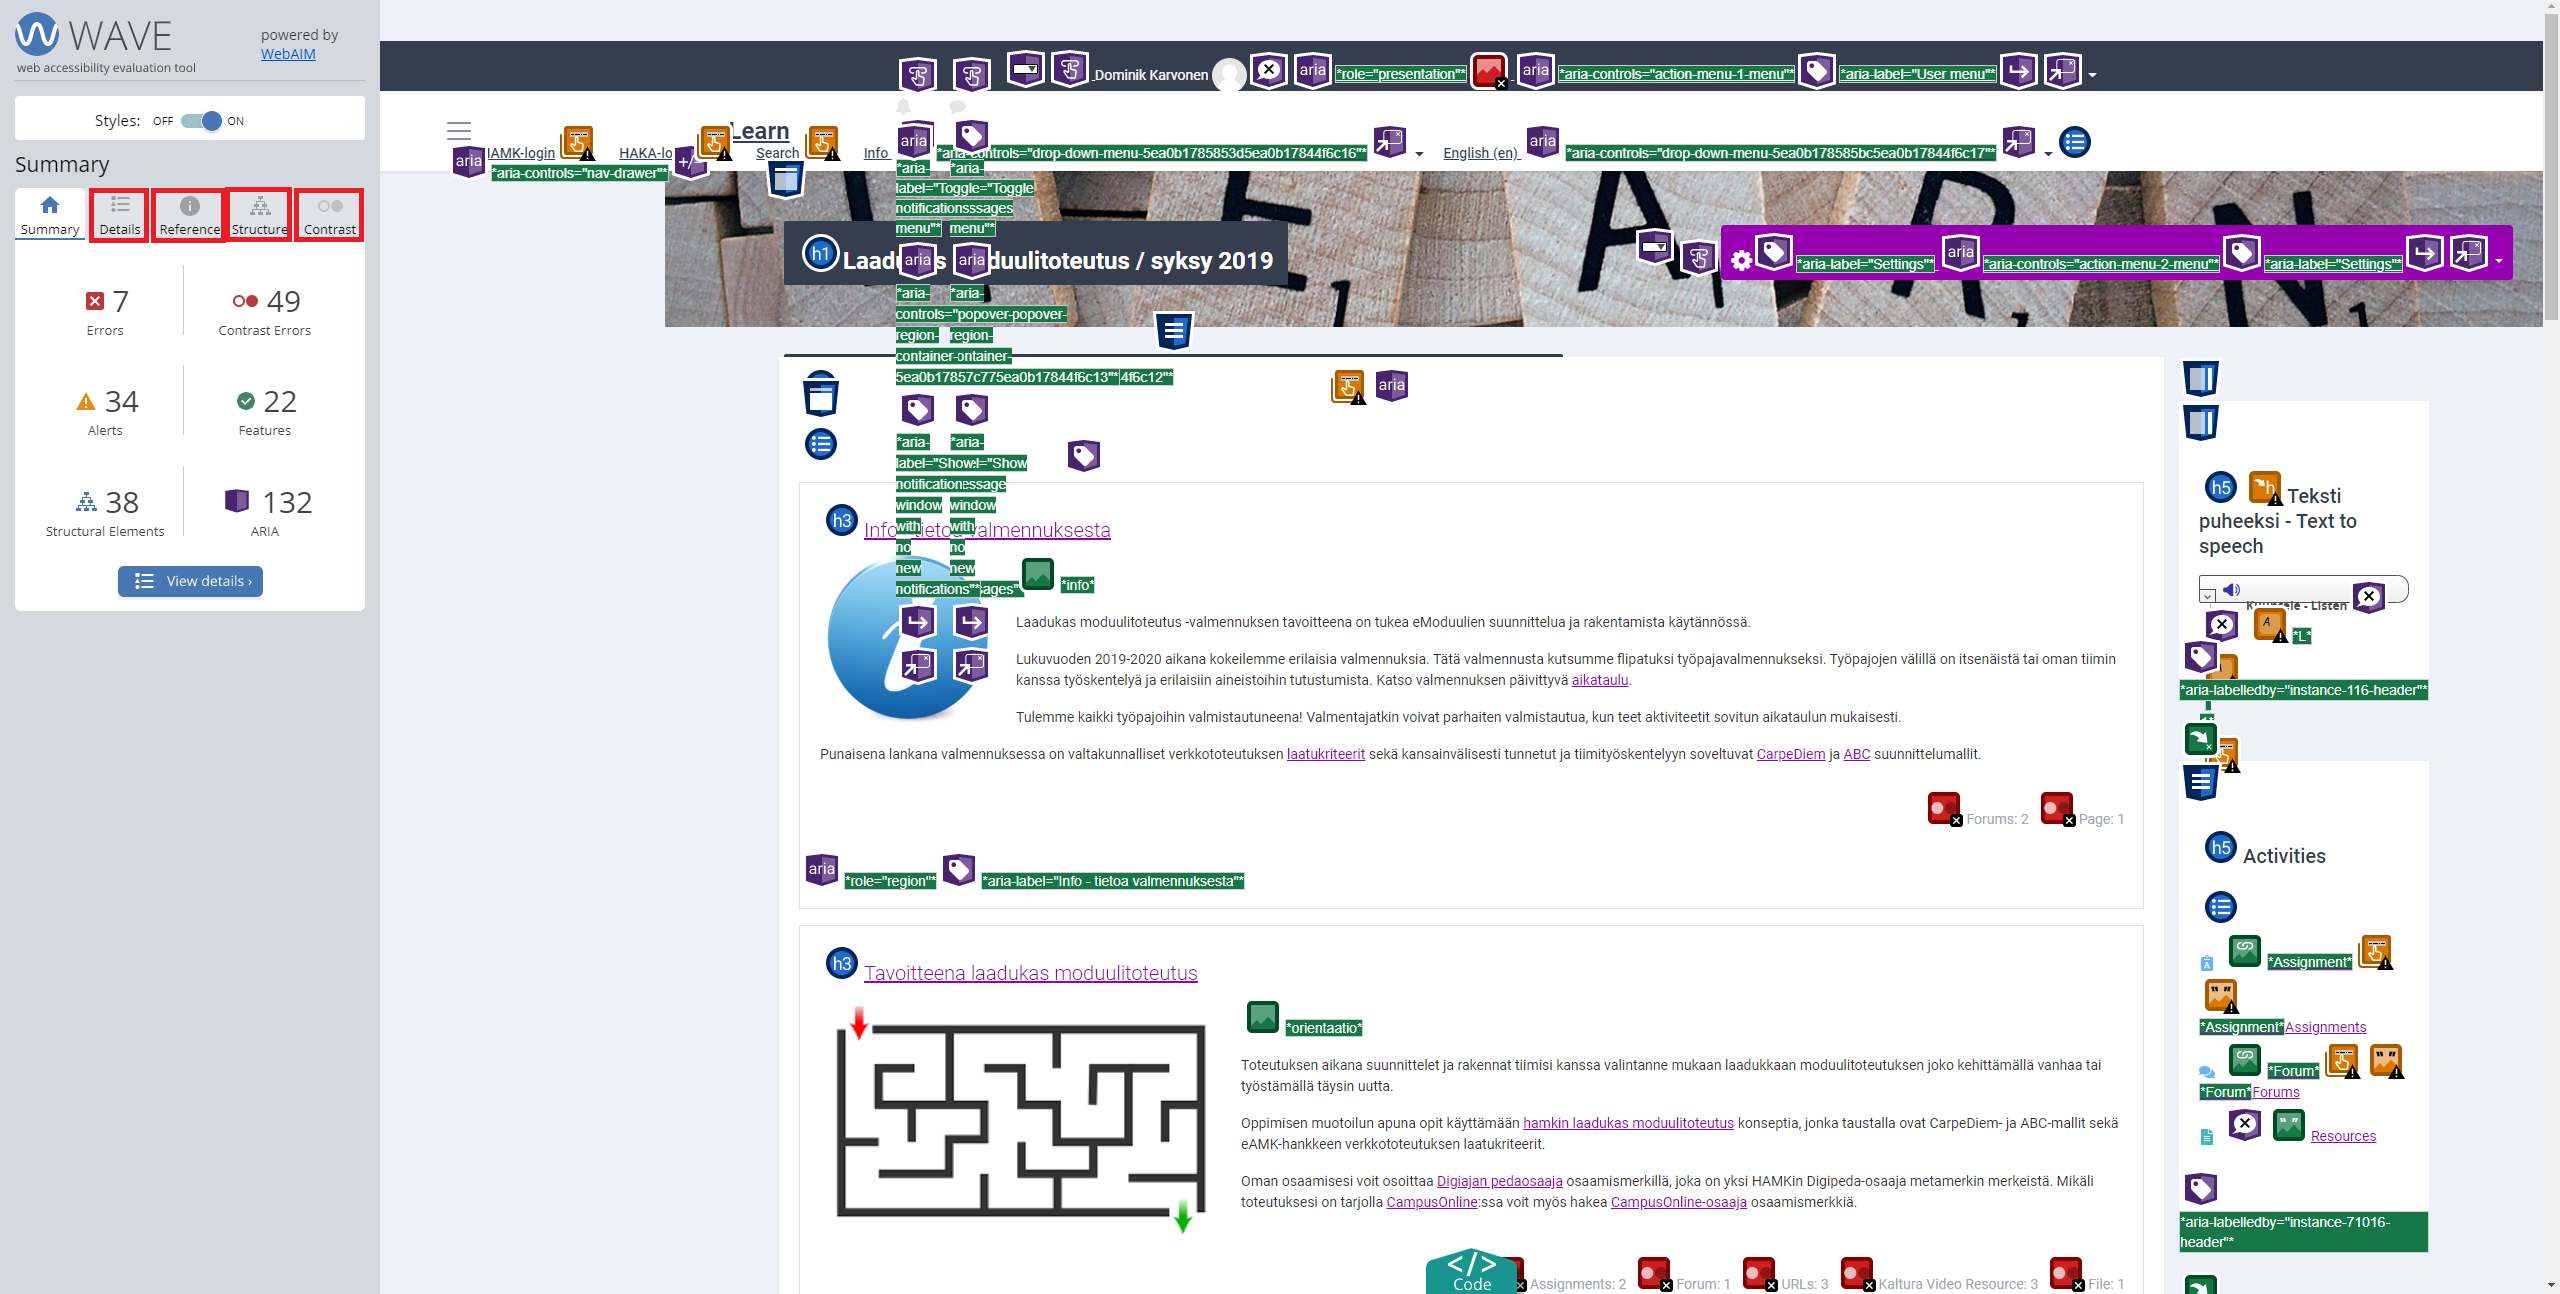
- First, let’s go to the Details tab, where you can see all the errors, structures and features of the page. We recommend removing Structural Elements = (Site structure) and ARIA-related notifications. This makes it easier to find the problem.
- When you click on the icon of the fault in question, you can see where the fault can be found on the page (the icon in question flashes on the page) and by clicking on the small exclamation mark, you can see more detailed information about the fault.
- Pressing the small exclamation mark takes you to the error type information page. Also included here are the possible ways to fix the problems and the related WCAG2 (accessibility directive) links.
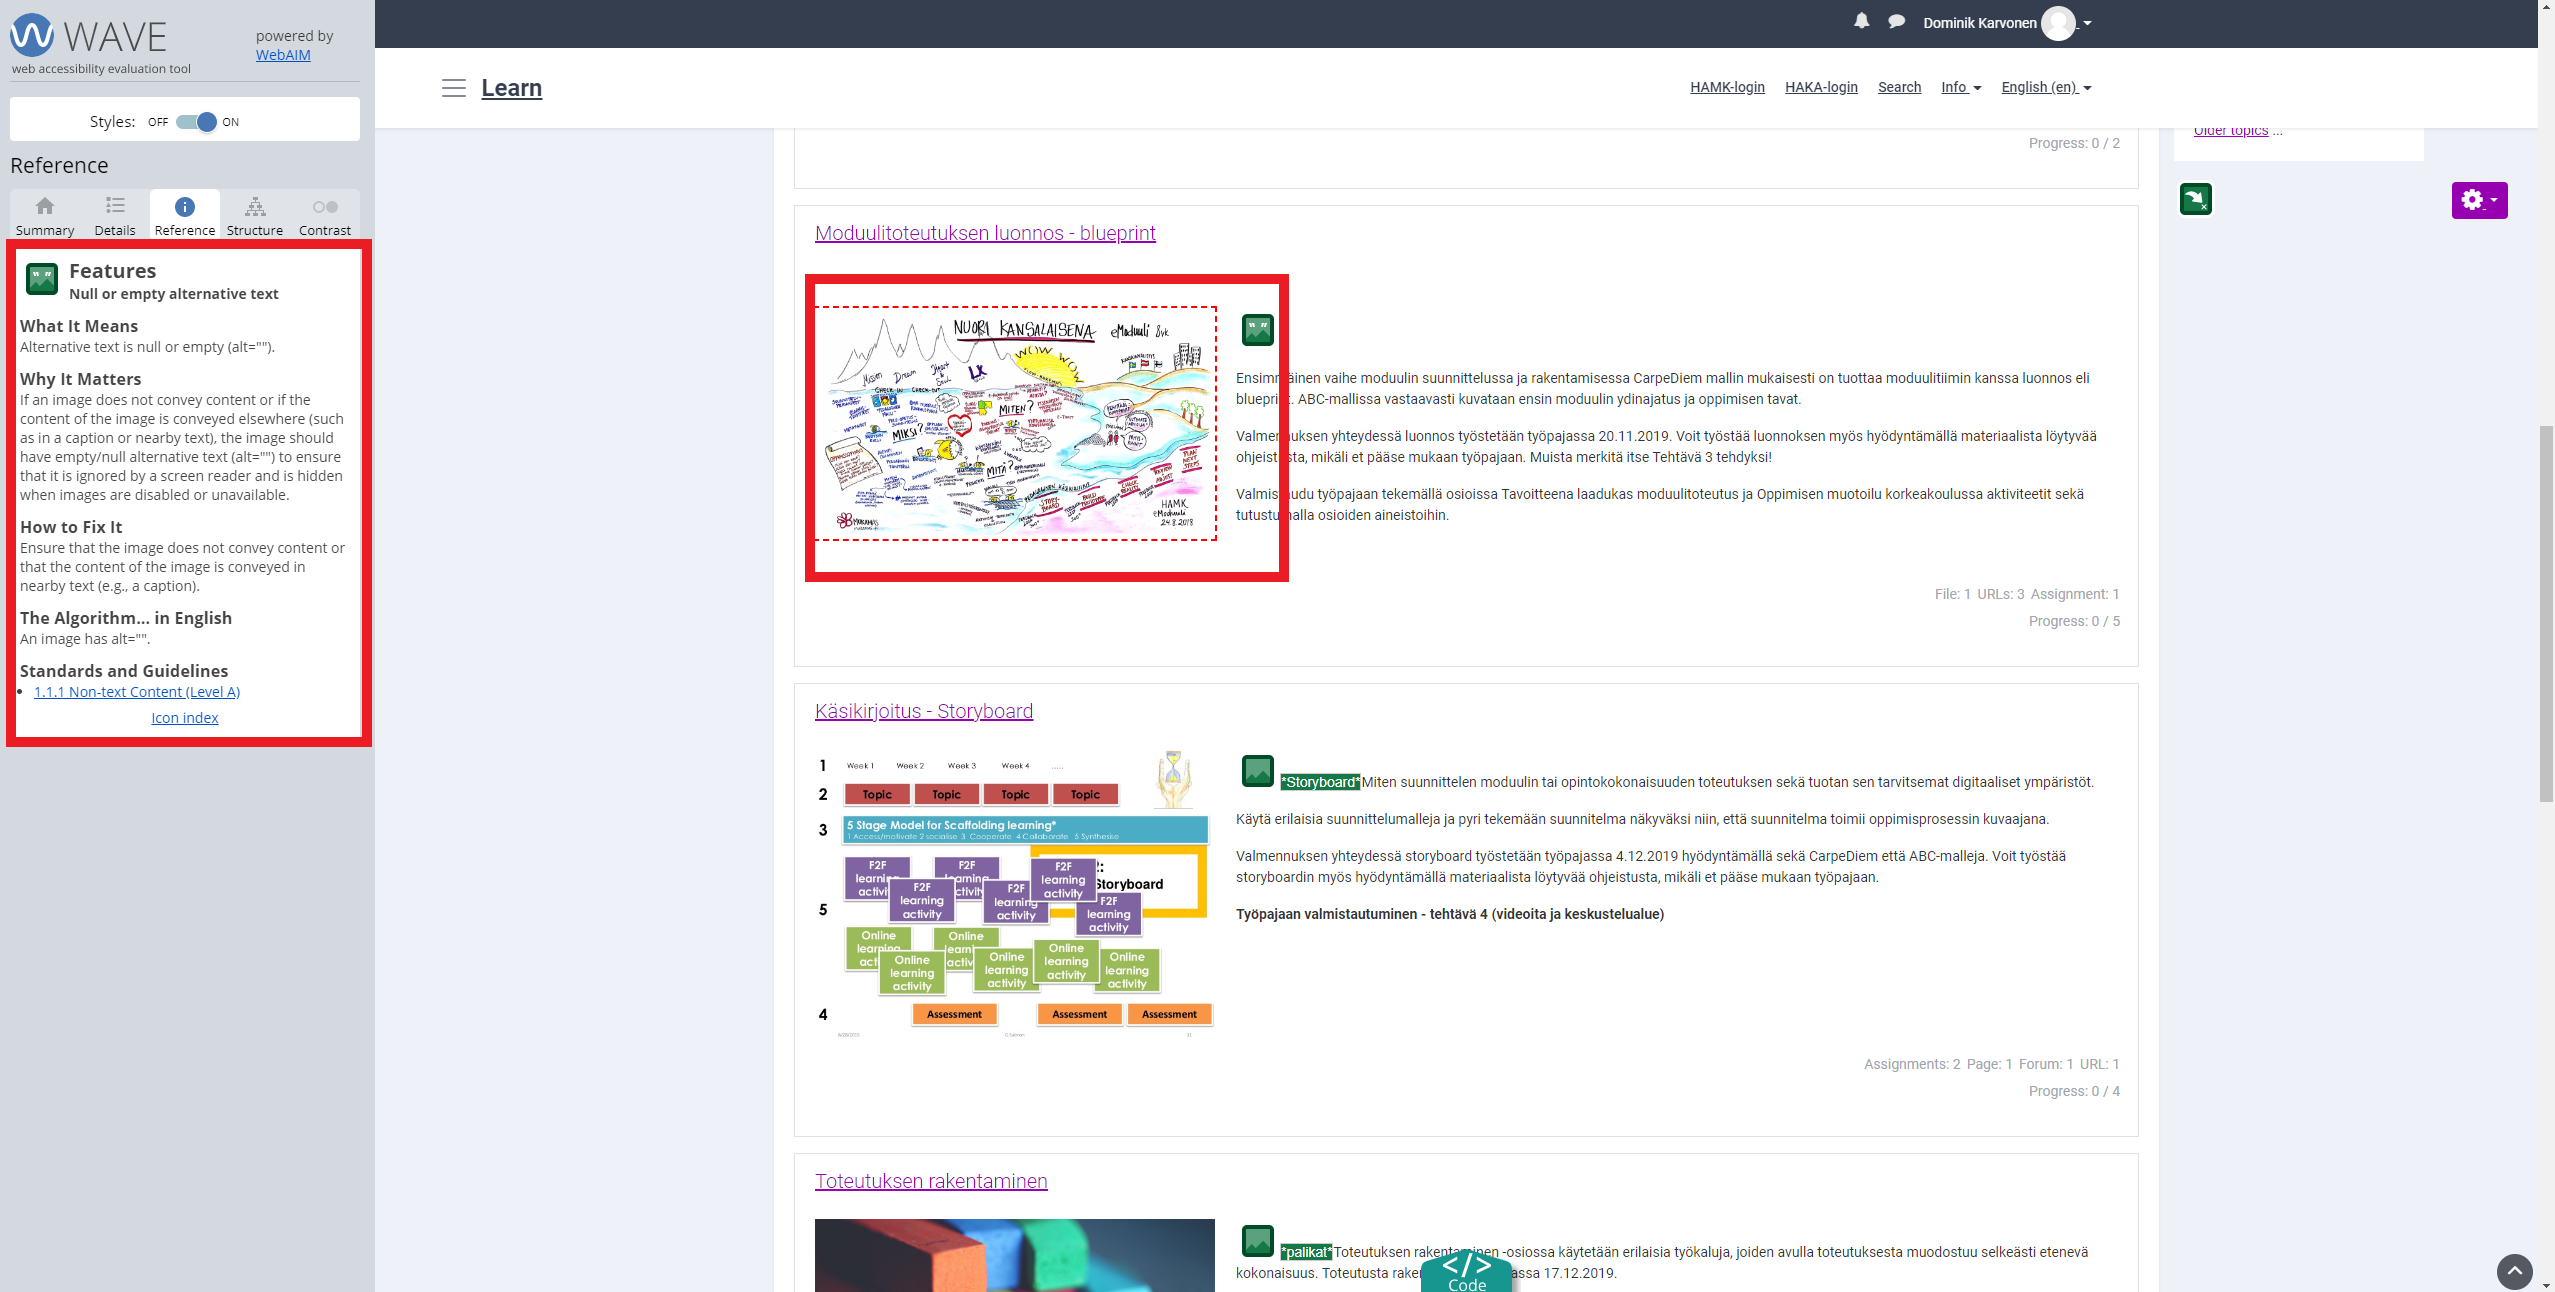
An example is alternative text missing from a relevant image.
