Uploading the video to Kaltura via Moodle
Article sections
If you haven’t uploaded the necessary video via the kaltura.hamk.fi website, you can also upload it to Kaltura via Moodle.
Video upload via Moodle
- Open the task return, where the video should be returned (student’s instruction ) or Kaltura video resource (teacher’s guide). Alternatively, select the Kaltura button from the text editor. You can also download the video via the My Media page in the menu on the left side.
- Press the Add New button. A new browser window opens. After clicking, select Media Upload from the list that opens to upload an already existing file, or use Kaltura’s own tools to make a video (presented at the end of this guide).
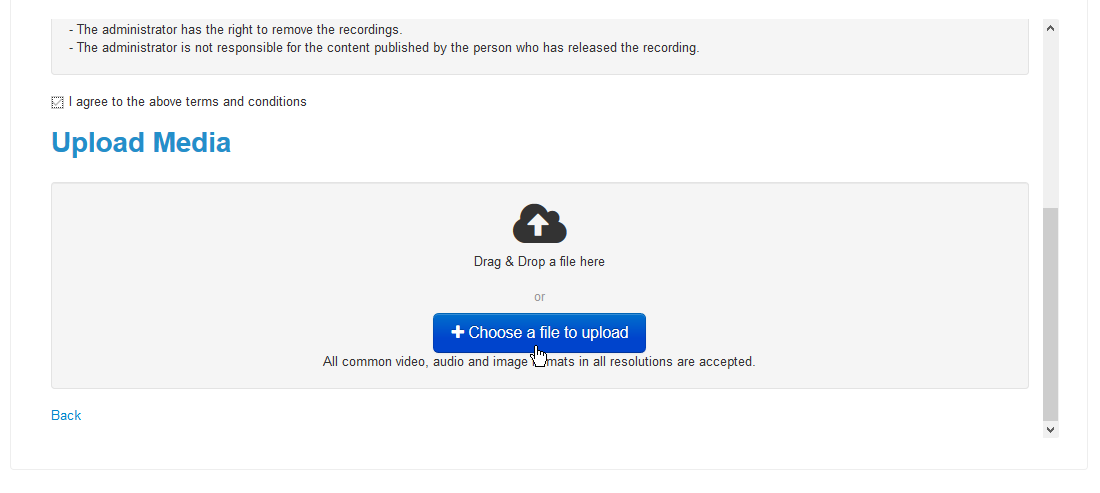
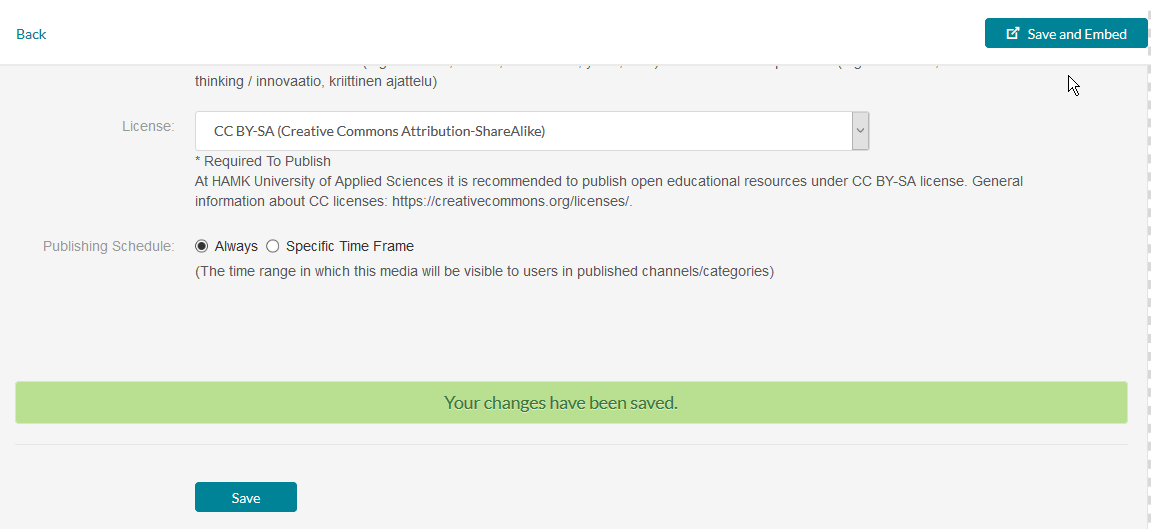
- Accept the terms of use and select the appropriate video file from the Choose file button. Video download to Kaltura begins. The opening page (metadata form) must be filled with at least a title and possibly a description as well as a license.
- Once the video has loaded and you have filled in the required information, you can save the video and information from the Save and embed button or from the upper right corner of the Embed window.
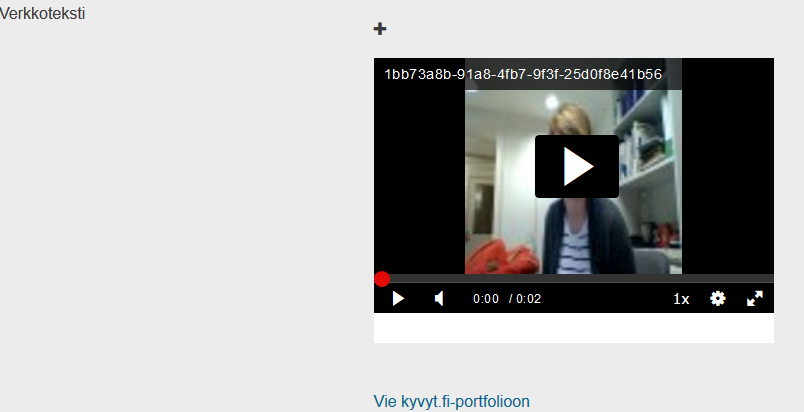
- After this, the Preview view will appear, i.e. a preview view of the embedded video will appear in the window. If necessary, press the Embed button, and you can go back to the actual window where the Moodle page is open.
- Save the changes.
Saving the Zoom recording to Kaltura via Moodle
Tools for importing or making videos via Moodle
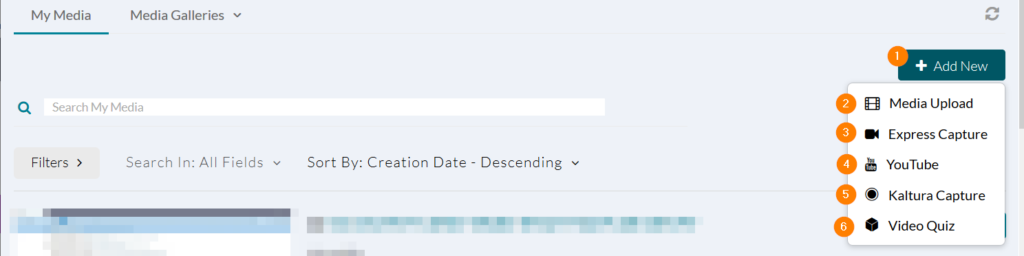
- Add New
- Video file download
- a recording made with your device’s web camera does not require, for example, the installation of an application
- Linking a video uploaded to YouTube as a Kaltura video
- Screen capture video made with Kaltura’s own tool (requires installation of the application)
- A video in which you can embed various questions