The use of Siteimprove plugin in assessing the accessibility of the Moodle workspace

Article sections
Adding the extension to the browser (Chrome used in the example)
- Click here to go to the Siteimprove plugin add page.
- Select “Add to Chrome”.

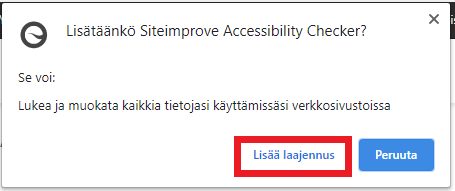
- The browser may ask for confirmation to add the extension, then accept by pressing the “Add extension” button.

Checking accessibility with the Siteimprove plugin
- Go to the page / site whose accessibility you want to evaluate
- Activate the Siteimprove plugin by pressing its button in the upper right corner of the browser.

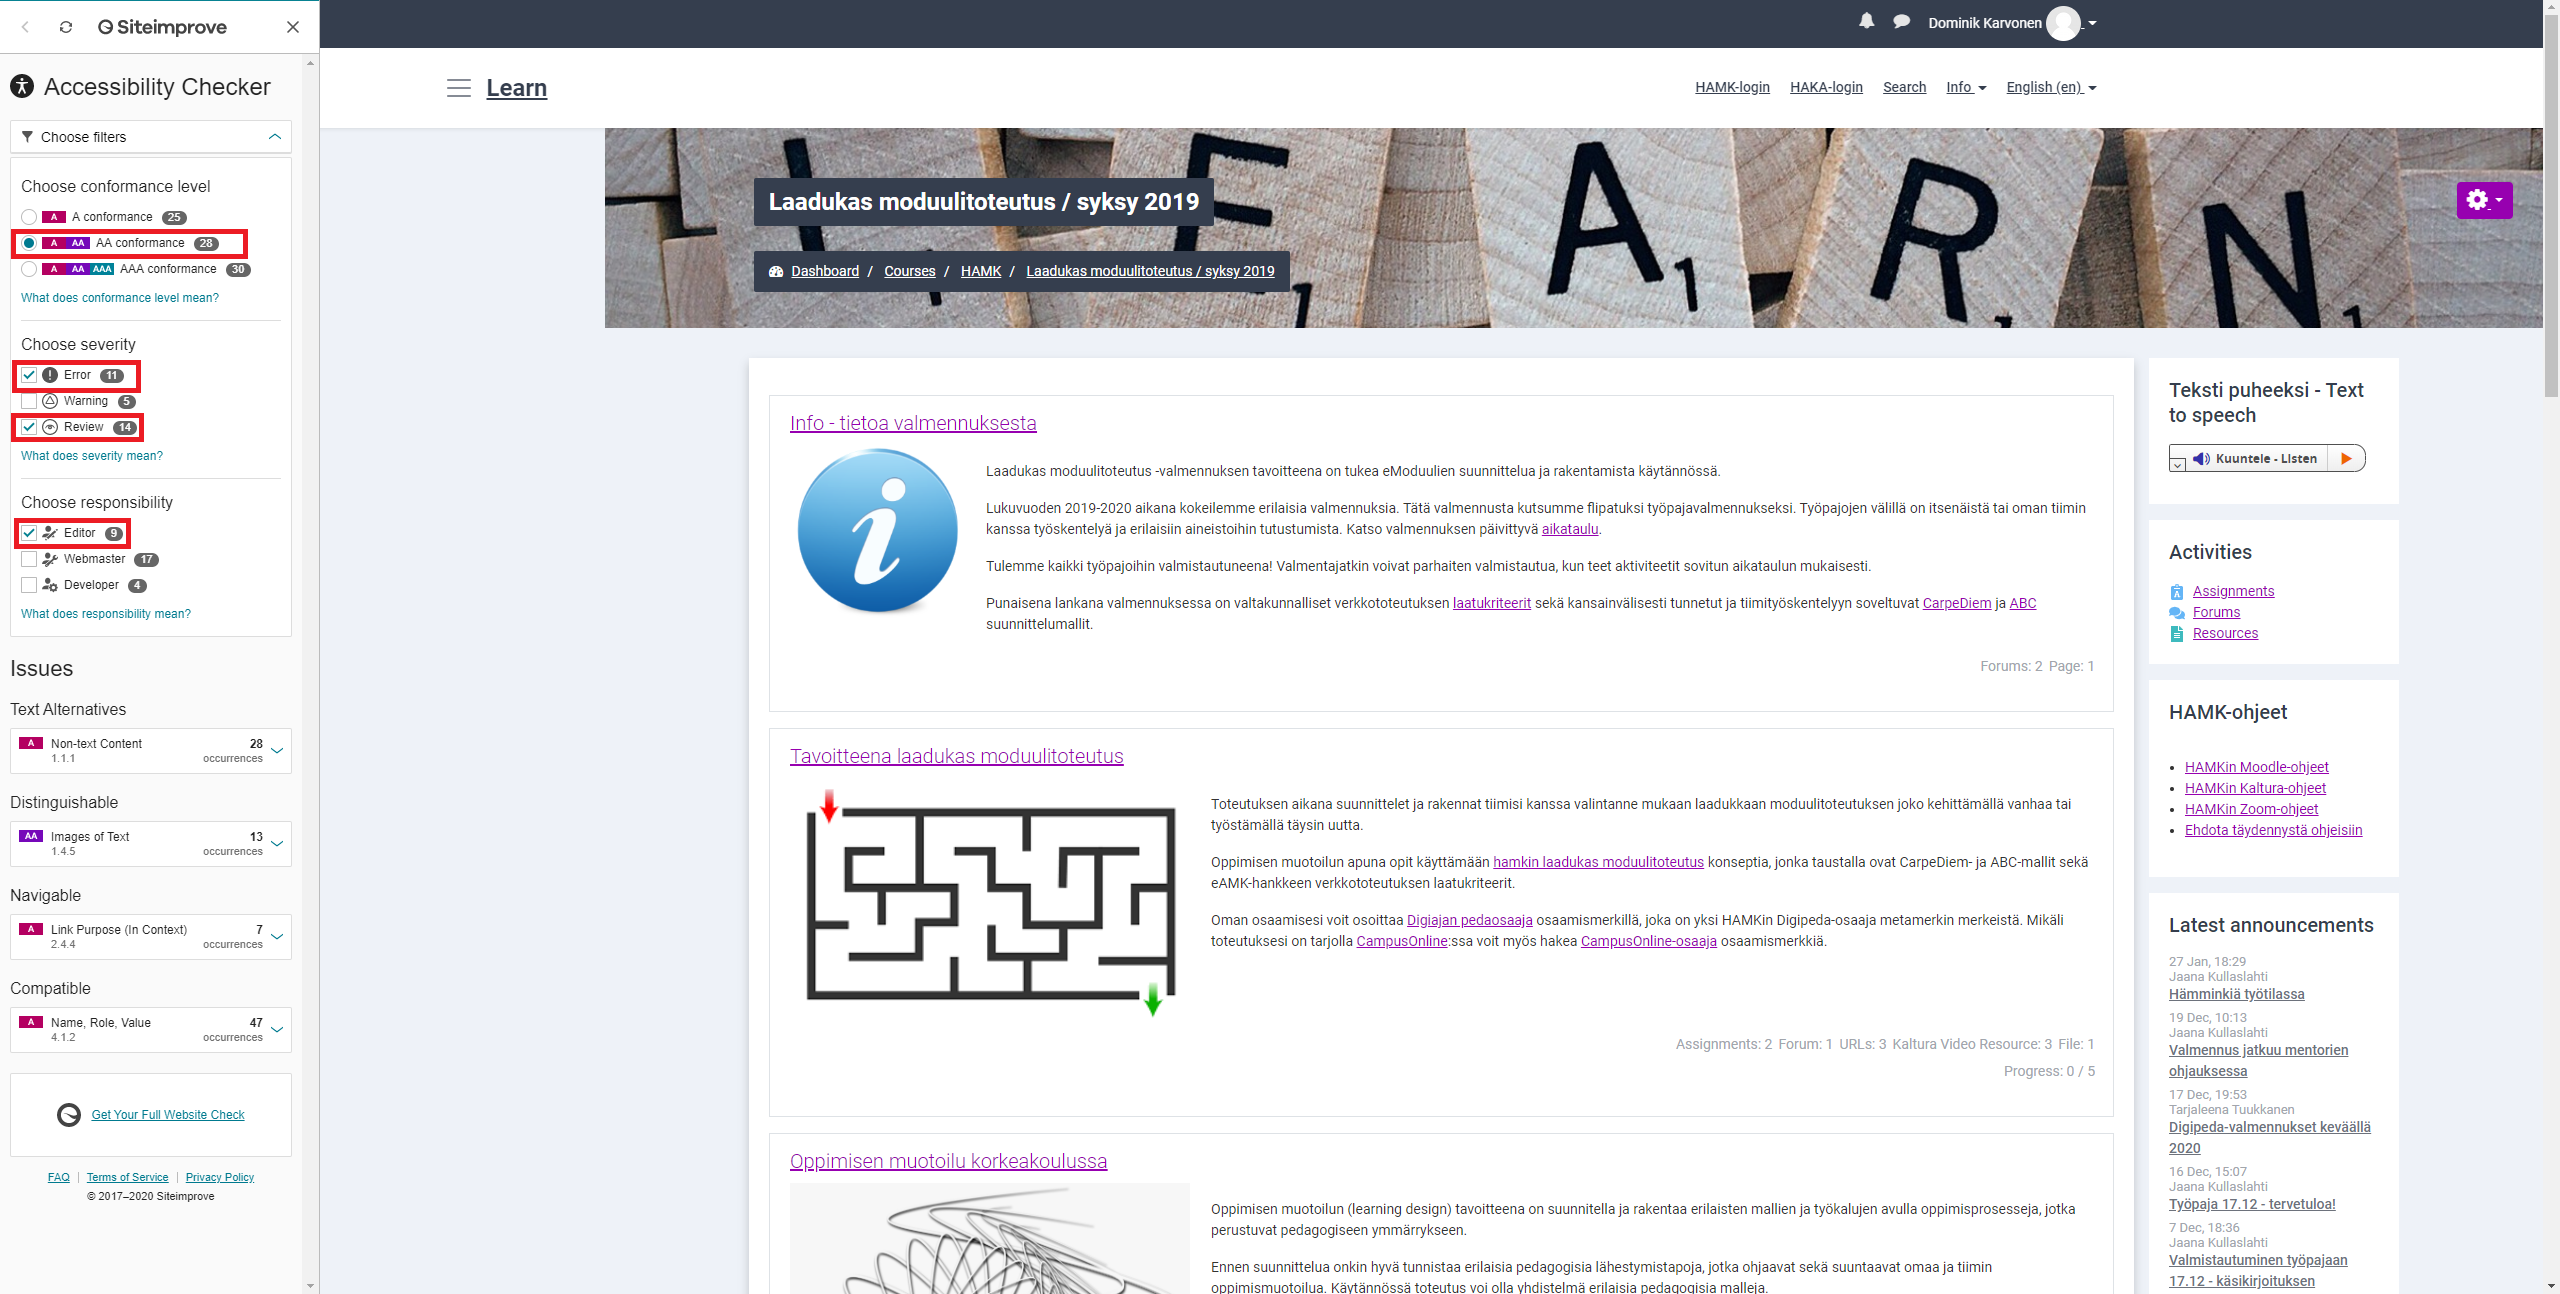
- After activation, the Siteimprove plugin displays the accessibility assessment results on the left side of the page. The main page of the Moodle workspace of a single module is used in the following example. The Moodle user should select the view settings according to the example in the image below.

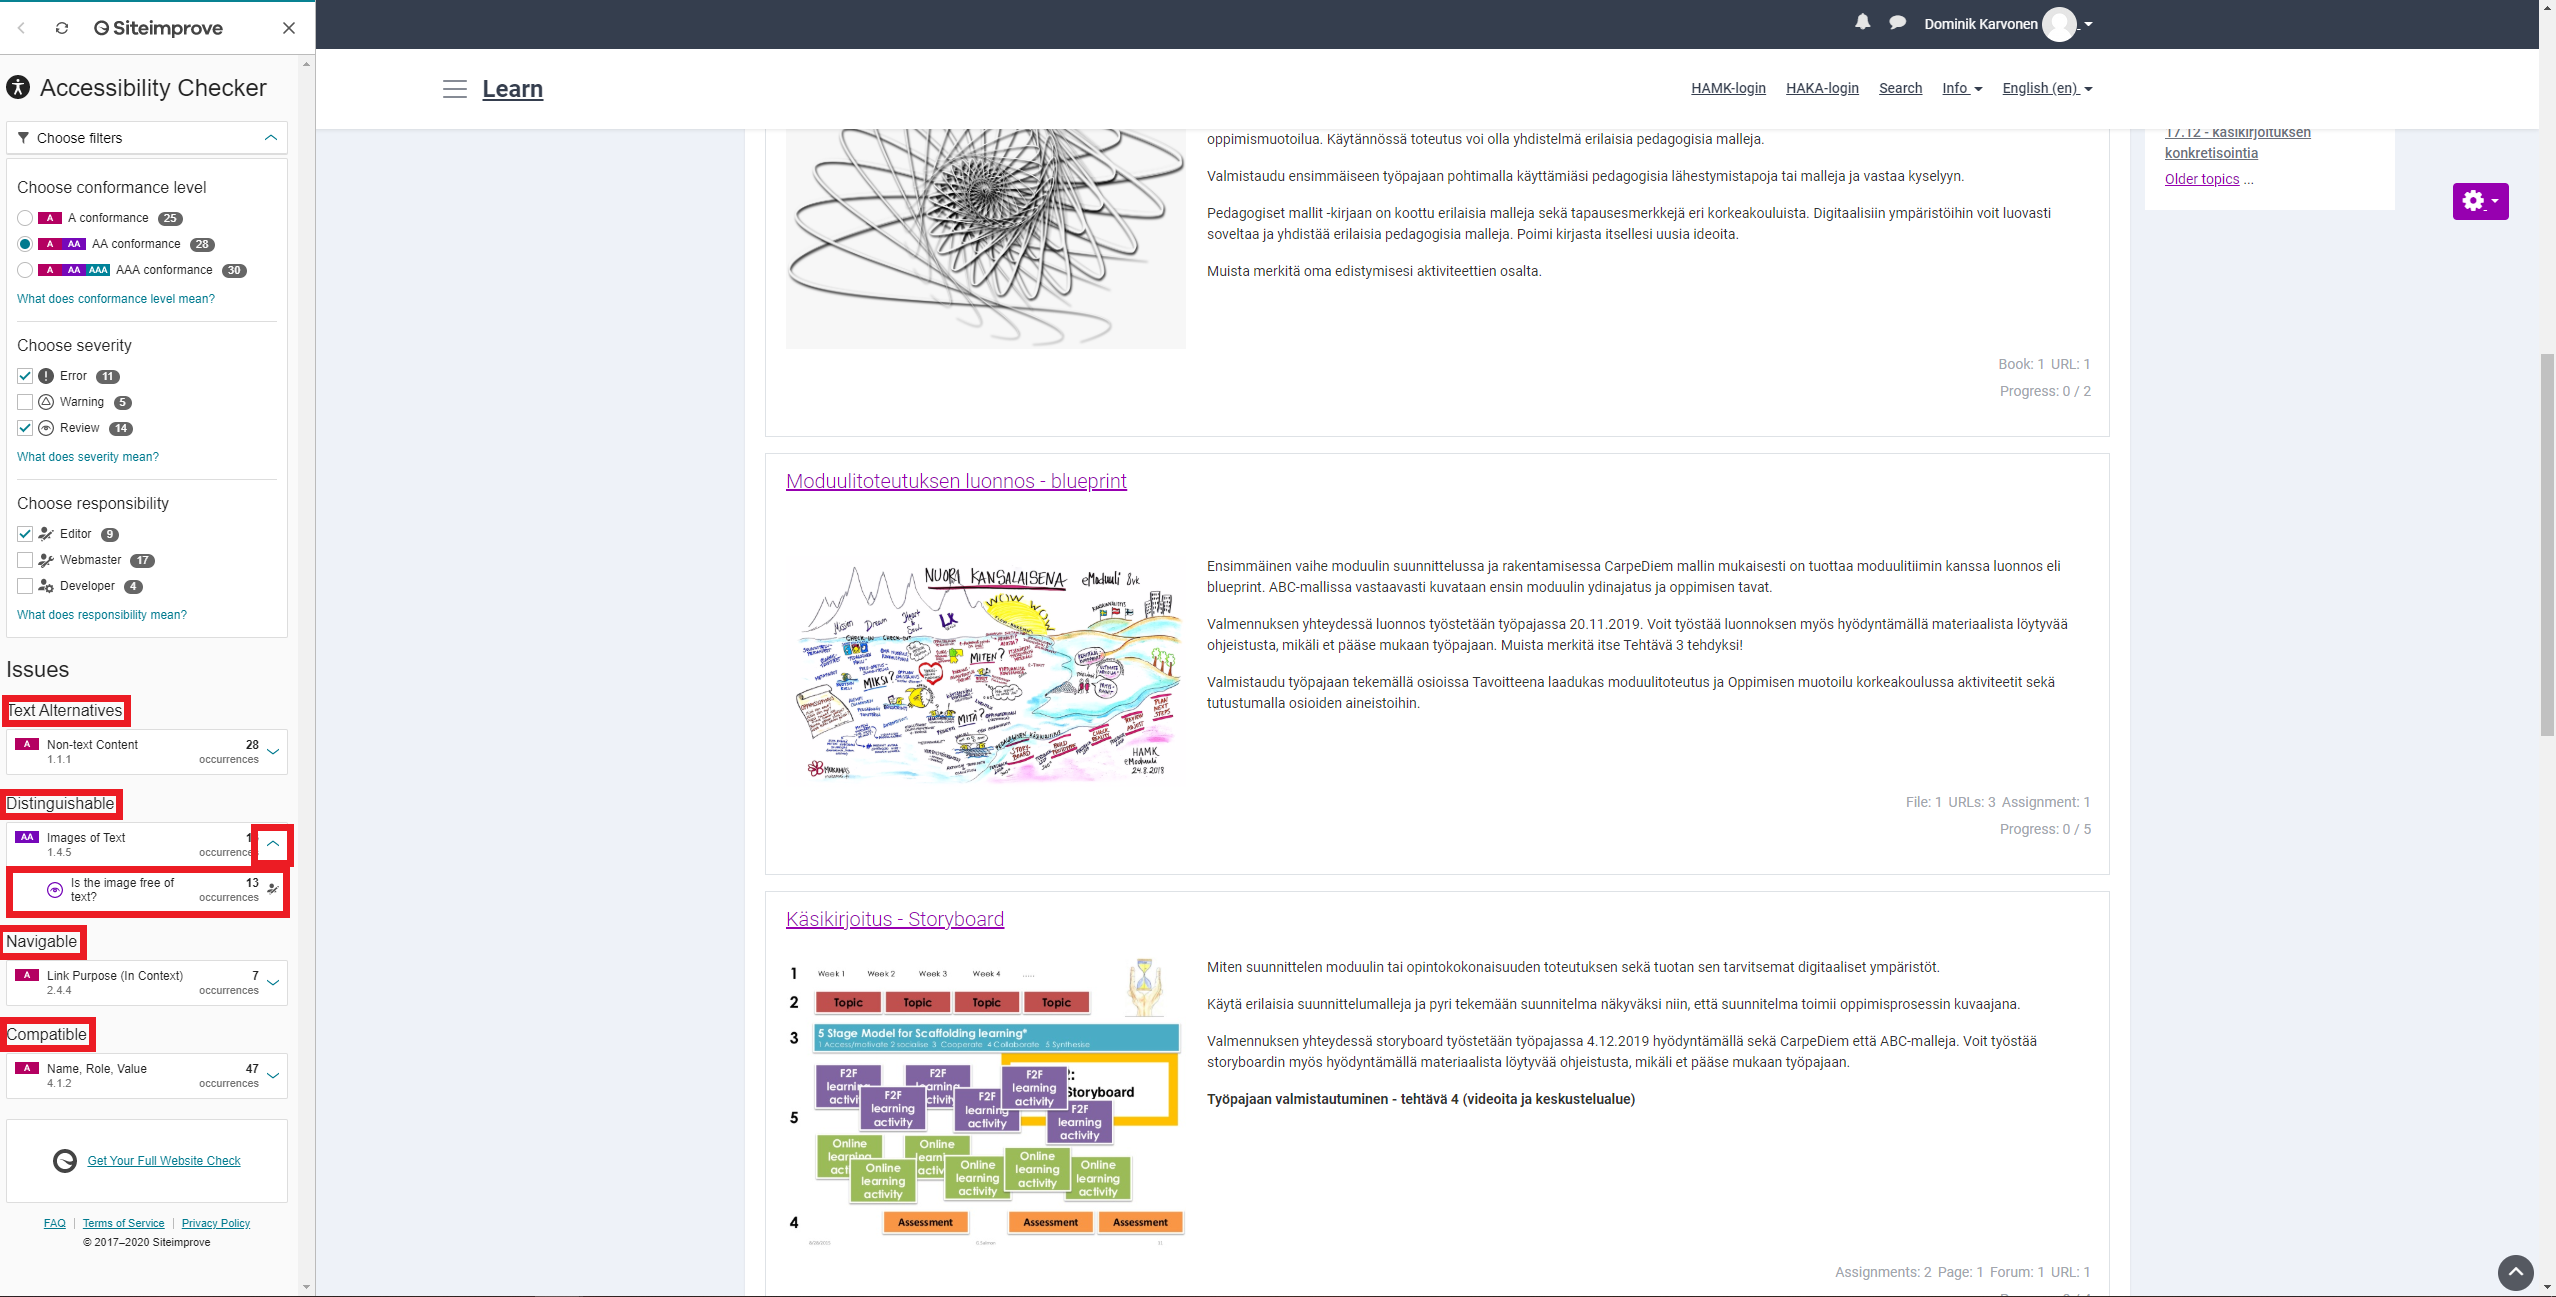
- After that, you can move on to see what type of accessibility issues the site might have. Accessibility problems are grouped by type: “Text Alternatives = (Alternative texts), Distinguishable = (Distinctiveness), Navigable (Navigability) and Compatible = (Compatibility). You can open these sub-areas and check the fault types found under them.

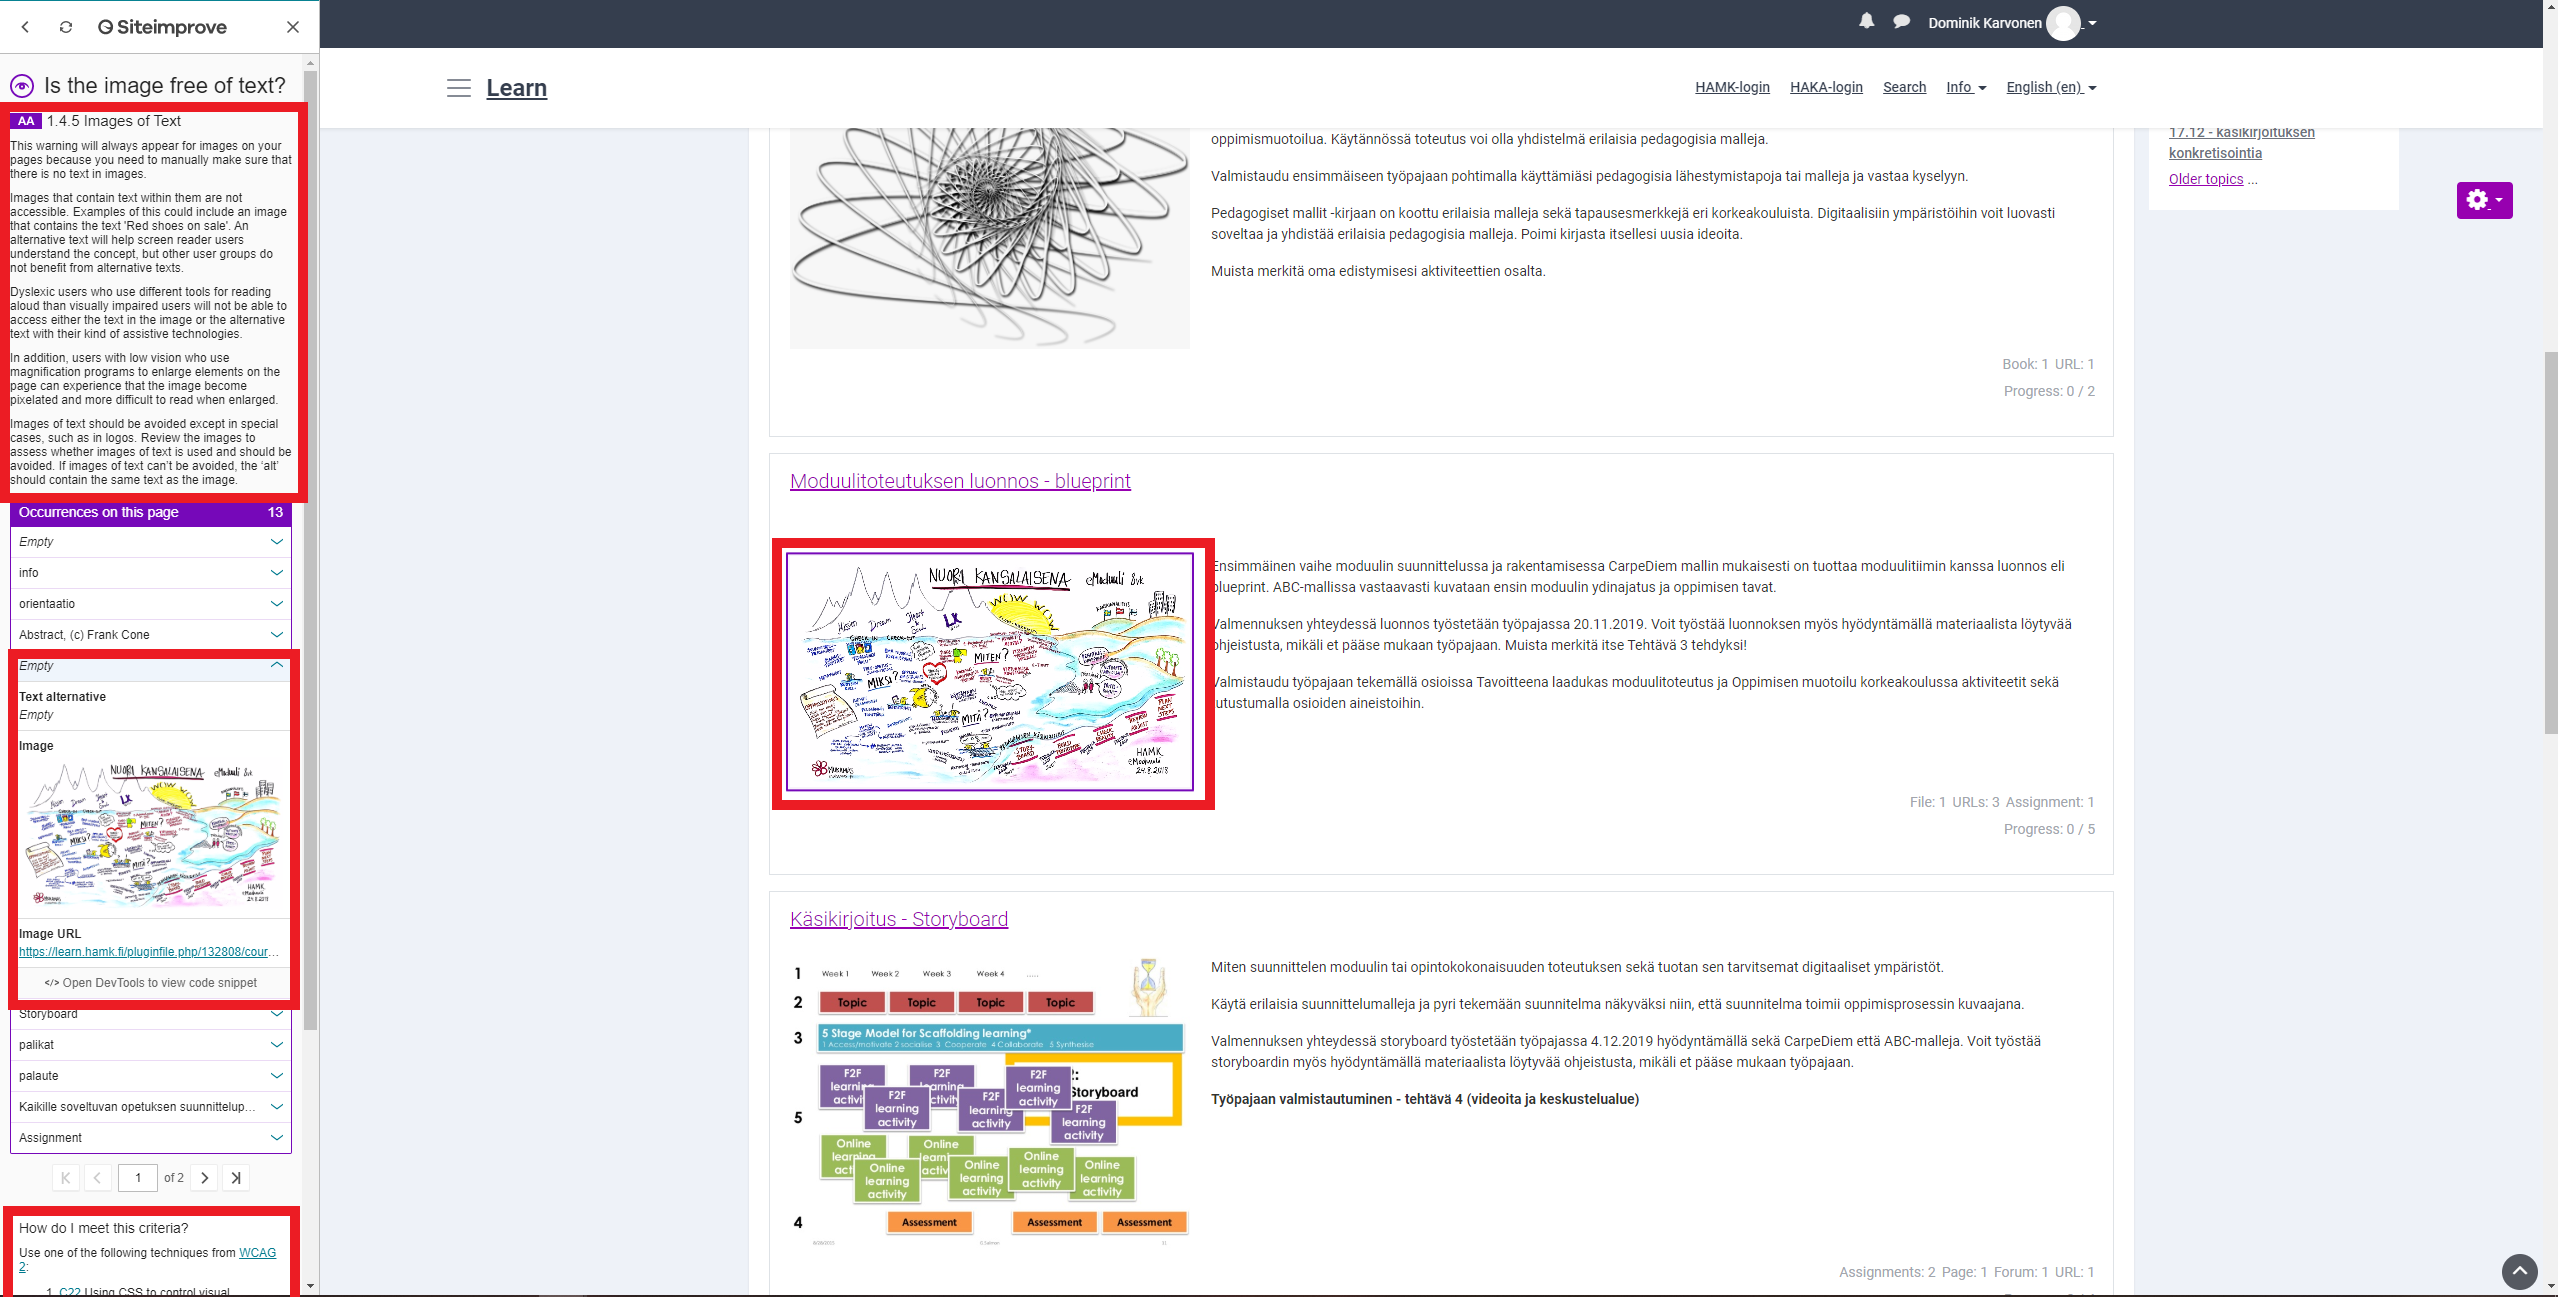
5. When opening fault types, you can browse through the individual cases. Also included here are the possible ways to fix the problems and the related WCAG2 (accessibility directive) links.As an example a relevant image, which is missing an alternative text.

