Screen capture with the Kaltura Personal Capture application
Article sections
With the Kaltura Personal Capture tool, you can make screen videos and publish them in the video service Kaltura. In addition to screen recording, you can attach a web camera image to the video.
Instructions for installing the application on HAMK’s machine and on your own machine.
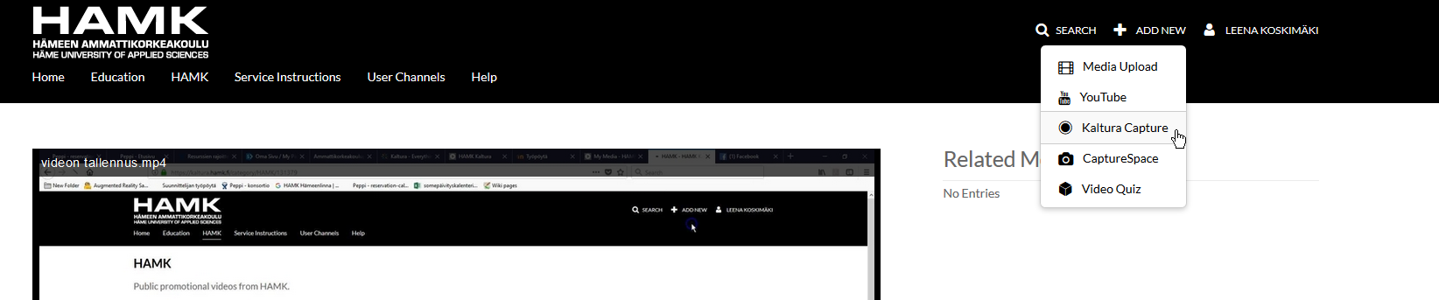
The first time you use it, remember to start the tool from the Kaltura website: Log into Kaltura at kaltura.hamk.fi and select Add New > KalturaCapture. The Kaltura Personal Capture application starts.
Use Kaltura Capture when:
- You want to save a PowerPoint presentation from which the contents of the different slides are automatically recognized.
- You want to make a tutorial video
- You want to run a video blog
- You want to make an instructional video
- You want to make a screen recording
- As a teacher, you want to give feedback to the student in video format
- As a student, you return the presentation of the learning assignment in video format
For quick help recording:
- Log in to Kaltura at kaltura.hamk.fi and select Add New > KalturaCapture.
- Make sure you are using the correct audio and video device when recording. Select the screen/frame/region to be shown in the video.
- Make a save. Start recording from the big red button. Finish with a square button.
- Check the details of the video. Download the video to Kaltura.
- Go to the kaltura.hamk.fi website, complete the video information and publish.
- You can edit a video in Kaltura with the Video Editor tool.
Where do the recordings go on the computer?
- The videos of Capture installed from the Software Center are stored in the Kaltura Capture subfolder of the Videos folder on the C drive.
- The videos of Capture installed through Kaltura are stored in the location C:\Users\%username%\AppData\Local\Kaltura\Capture\Recordings. Instructions for setting the location again: Kalturan recording folder redefining.
Recording and publication
- Log in to Kaltura at kaltura.hamk.fi and select Add New > KalturaCapture. The Kaltura Personal Capture application starts.
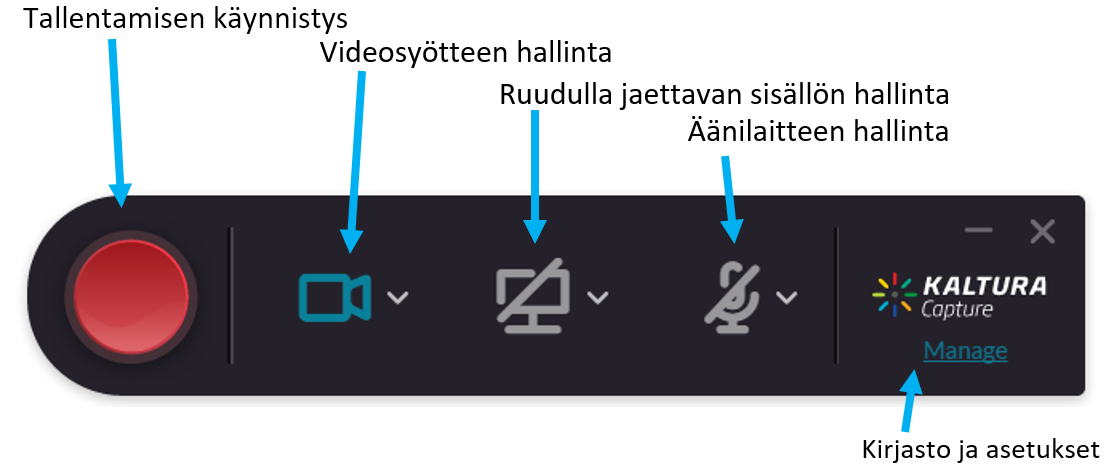
- You can choose which audio device you use and select the webcam feed from the push buttons. When the video is published in Kaltura, the viewer can freely choose between the live image and the presentation or watch them side by side. If necessary, verify the video and audio capture quality settings in the Manage menu.

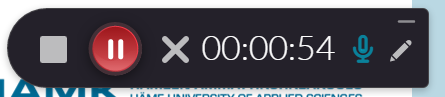
3. Make a recording. Start recording from the big round red button. You can use the pen button to annotate, i.e. make notes on the screen image. Stop with the square stop button when you’re done.
.
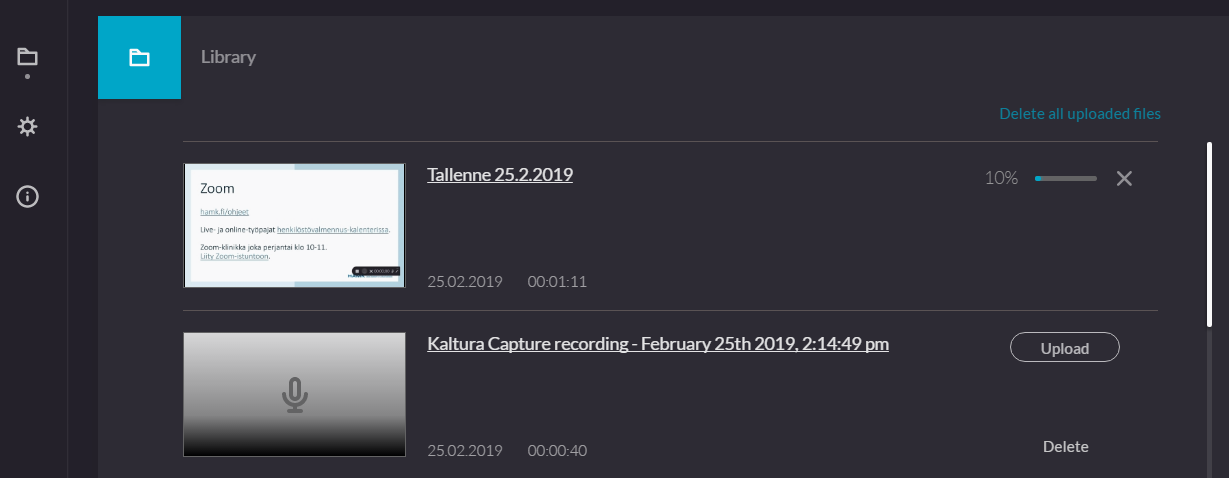
4. Check the title and description of the video. Save. You can upload the video directly to Kaltura with the Save & upload button or later via the video library from the Manage menu.
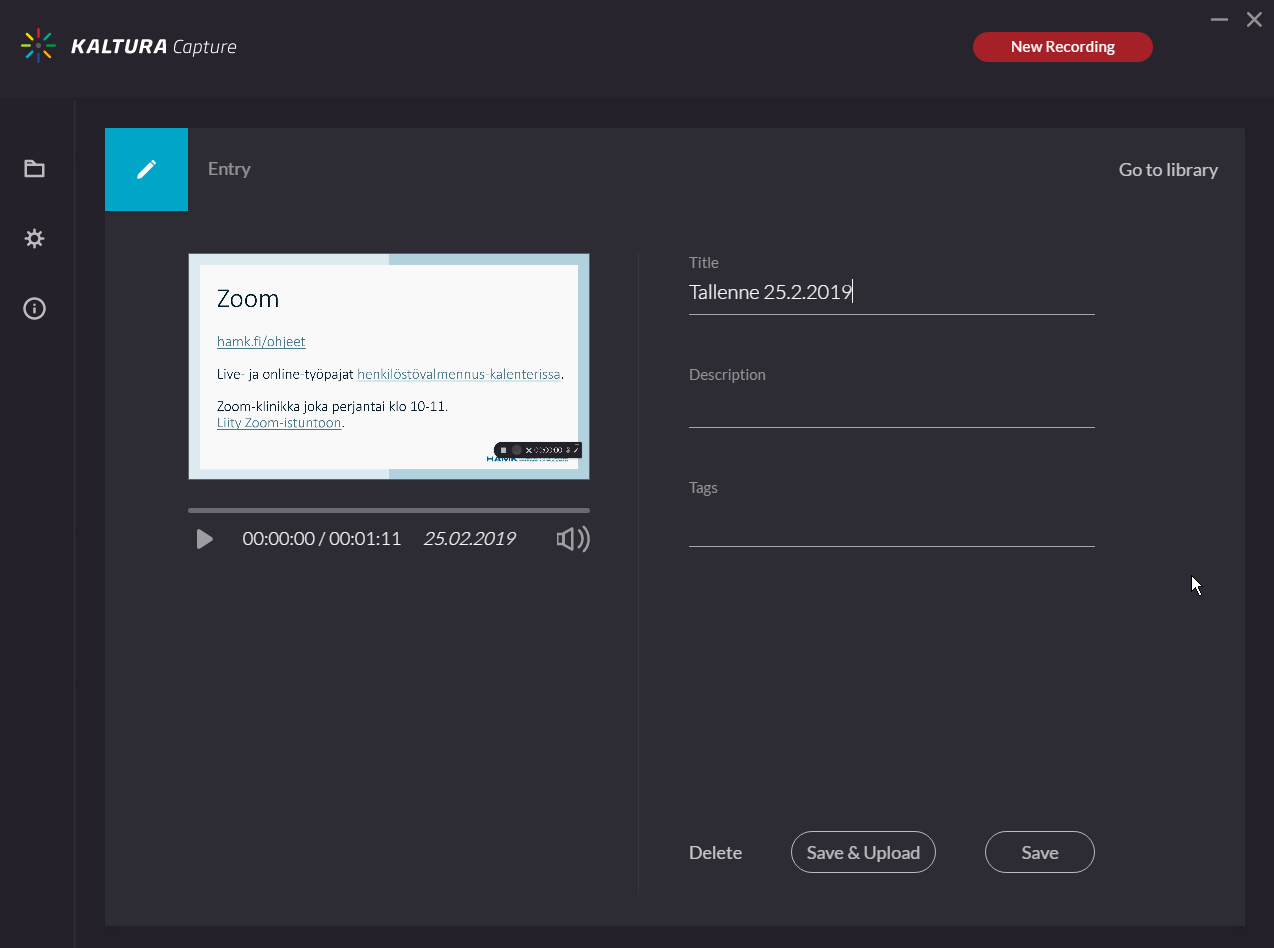
You can start the upload later with the Upload button.
5. Go to the kaltura.hamk.fi website, complete the information and publish.
6. You can edit the video in Kaltura with the Video Editor tool.
Kaltura Capture settings
You can open the settings from the Manage menu.
From the tab that opens from the wheel button, you can adjust the quality of the camera recording and the screen capture, as well as choose whether the system beeps are recorded. You can format the desired default title for the recordings. Finally, save the settings with the Save button.
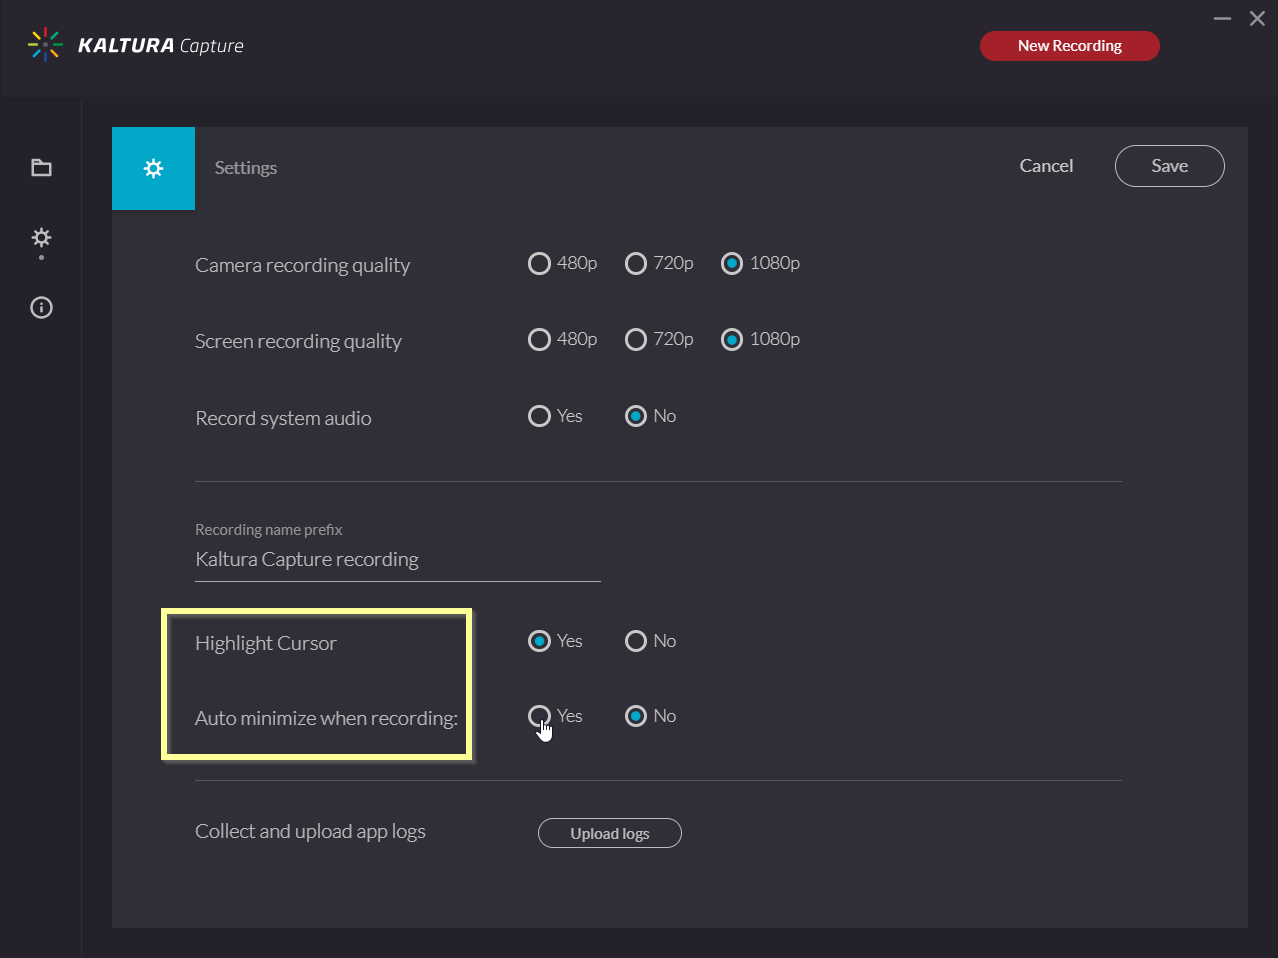
Note! You can also select cursor highlighting for the video. In this case, a yellow ball flashes around the cursor when you click with the mouse.
More information about Kaltura Personal Capture: Kaltura Personal Capture Overview