Go hybrid with the hybrid meeting kit

Article sections
The content of the kit
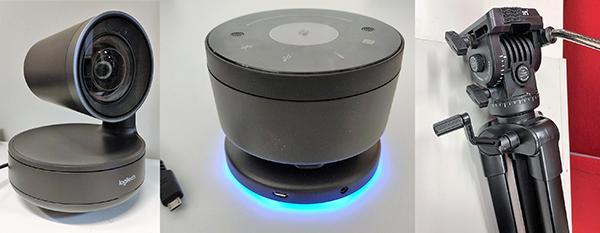
- Logitech Rally -USB-camera
- Set of Sennheiser mic/speaker units
- Tripod for the camera
When you return the kit, make sure all the parts in it are included and packed correctly and neatly!
Set of Sennheiser mic/speaker units
The purpose of the Sennheiser set is to transmit sound bidirectionally in a large space. People in the space hear the audio of the meeting and make their own voices heard through the units of the microphone set. Each unit of the microphone set has a speaker and a microphone.
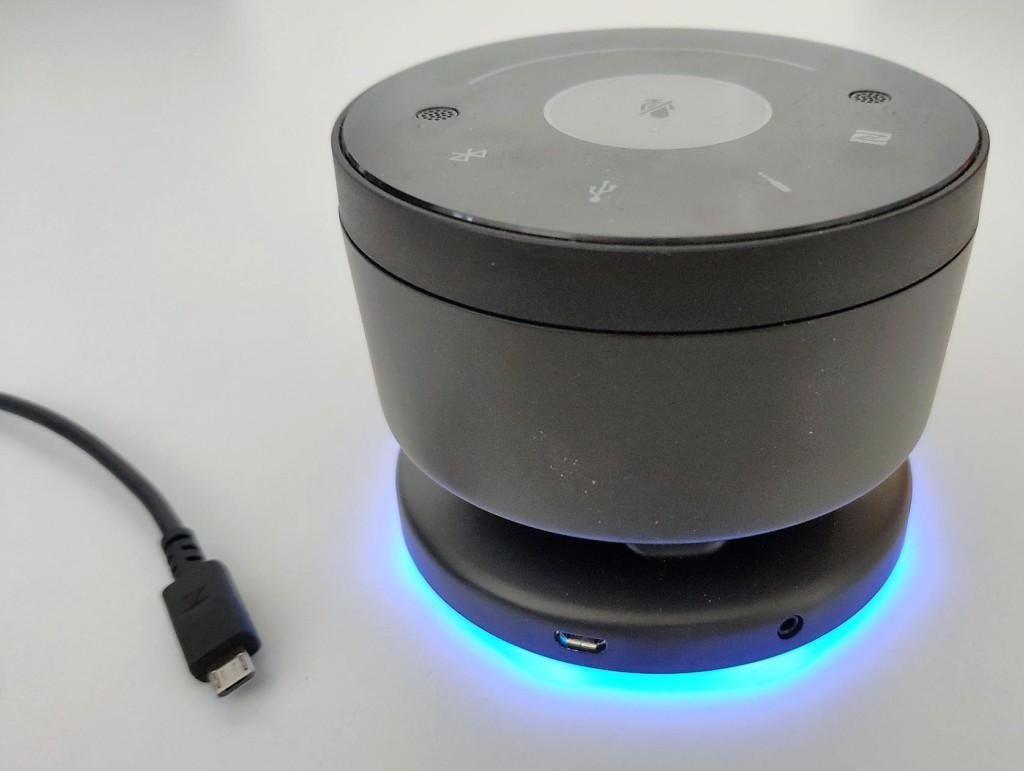
- One of the units in the microphone set is the controller unit that is attached to the computer.
- You recognize the control unit because only it has port for a USB cable (as in the picture).
- The other three are connected wirelessly and can be placed on different sides of the space.
Adjusting the units
- Connect the controller unit to your computer with a USB cable.
- Spread the other 3 units around the space.
- Check with the computer that the device is selected as the default audio device on the computer (see figure below).
Using the Sennheiser set on your computer
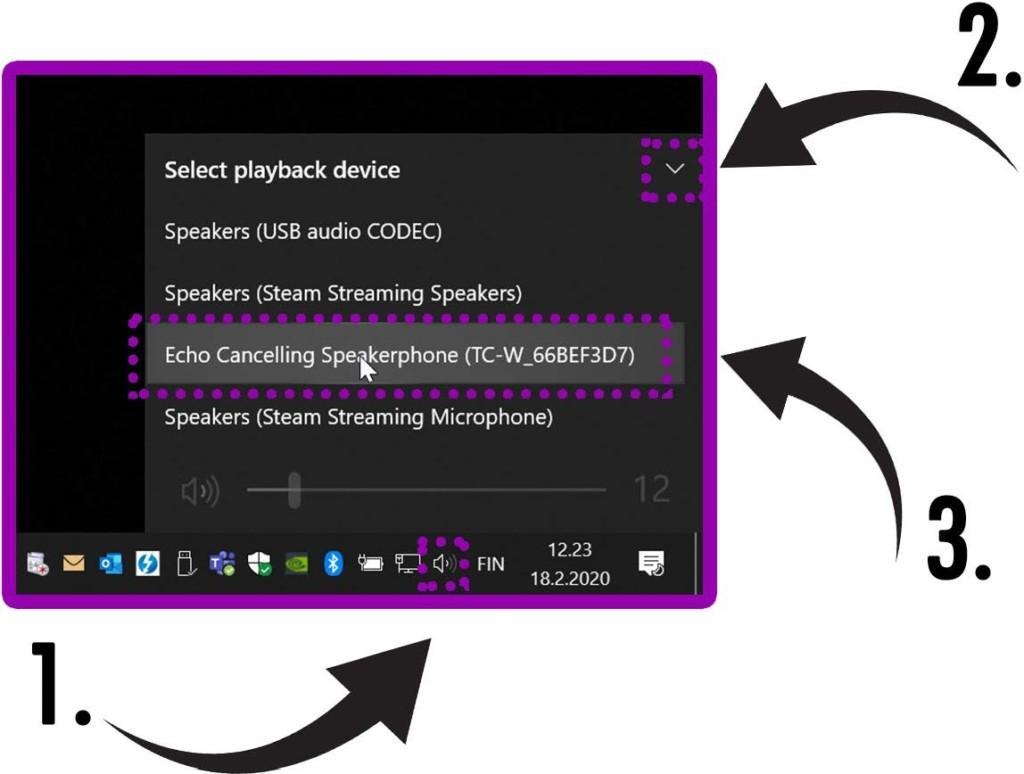
- Left-click the audio/sound icon in the notification area.
- Click on the small arrow to open the list of audio devices.
- Select “Echo Canceling Speakerphone” as the audio device from the list.
Camera
- Place the camera on a table or use the tripod.
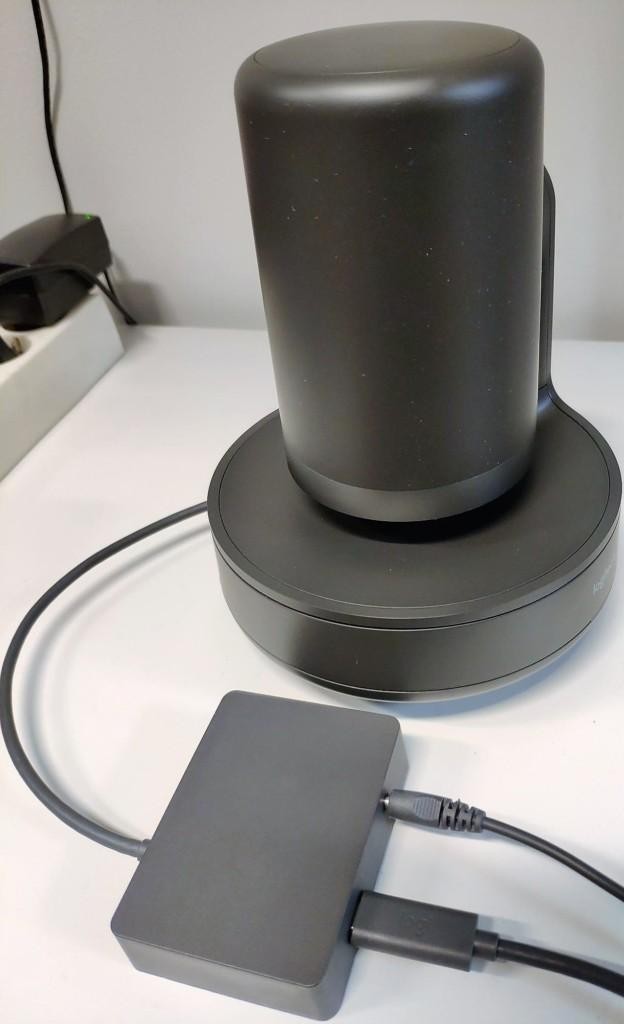
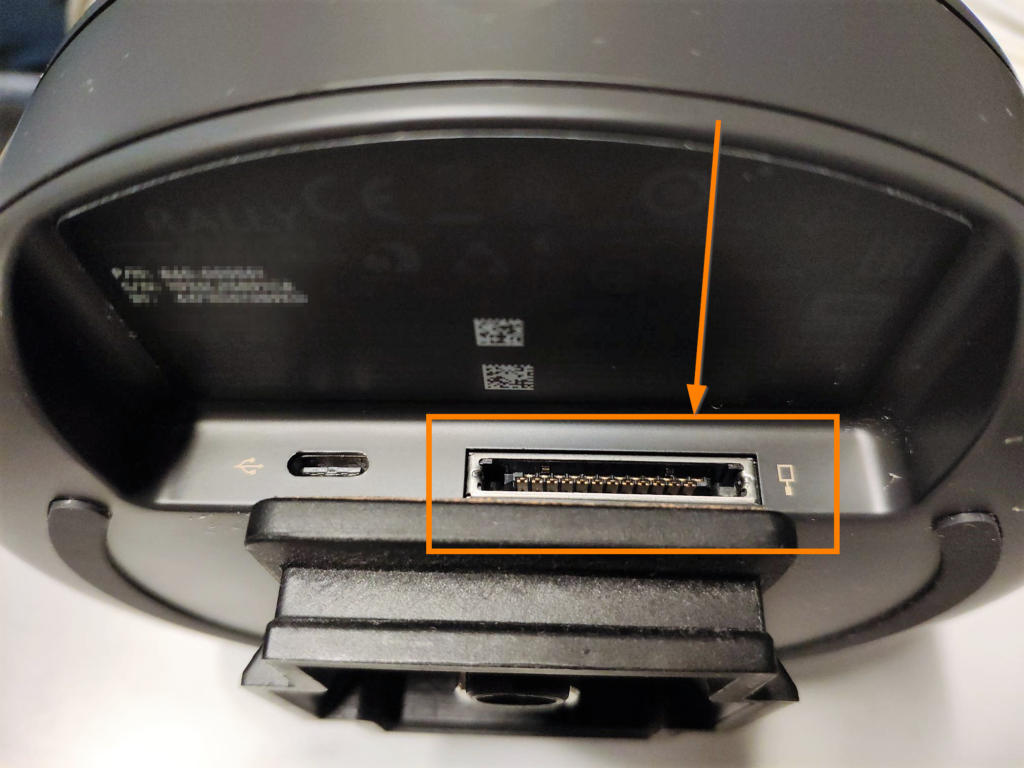
- Connect the power cord and USB cable to the USB module.
- Connect the short cable from the USB module to the camera. (You can attach the USB module to the tripod with a Velcro mount) The camera will then appear ready for use in various meeting applications (Teams, Zoom, etc.).
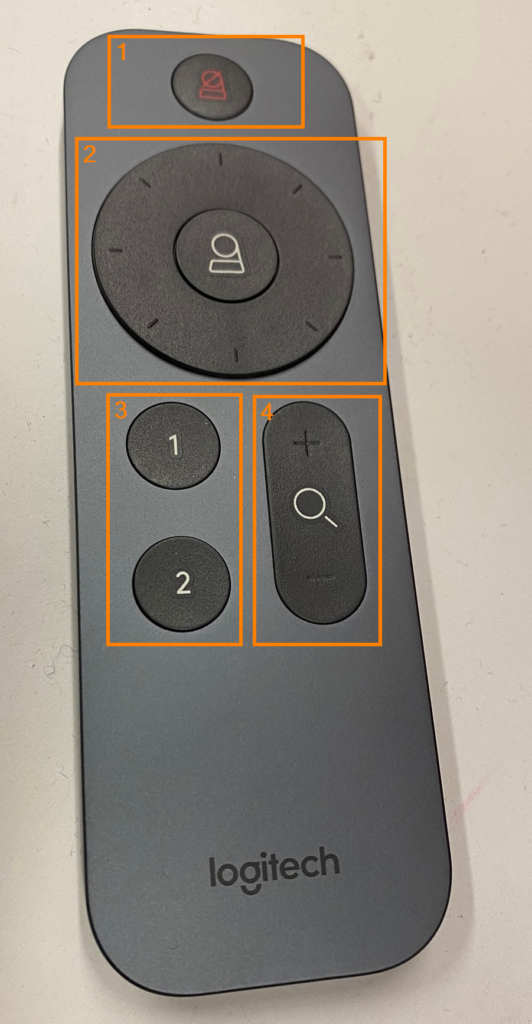
- With the remote control that comes with the camera, you can zoom in on the image and rotate the camera in the direction you want.
Tripod
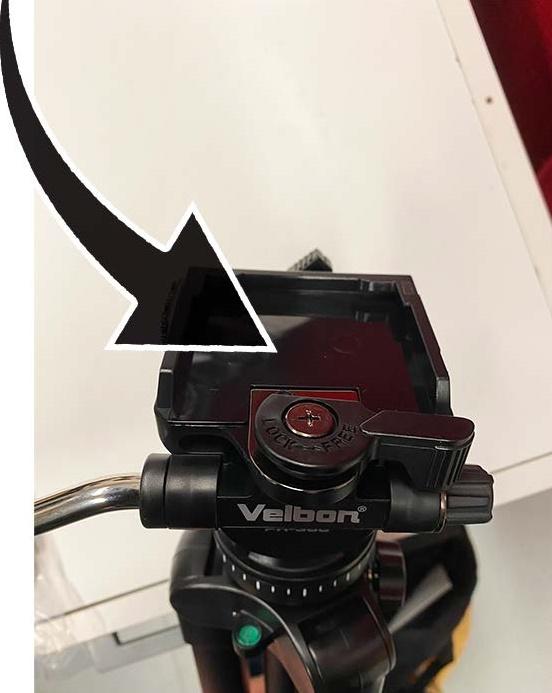
- The bottom of the camera has a base plate that is required to attach to a tripod. Press the disc into place so that the opposite long side of the lock lever snaps into place first.
- Lower the side of the lever, too. Now the lock in the base clicks into place.
- Tighten the locking lever further by hand by turning it to the lock position.
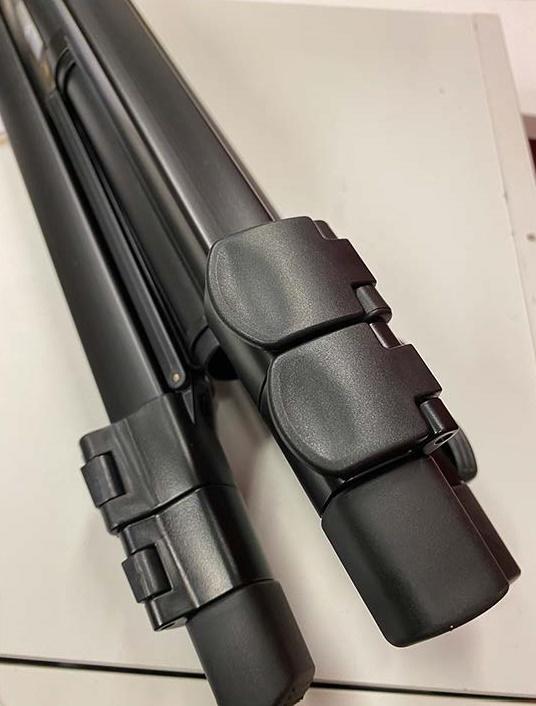
- The height of the legs of the stand and the height of tripod can also be adjusted by turning the crank, if necessary.
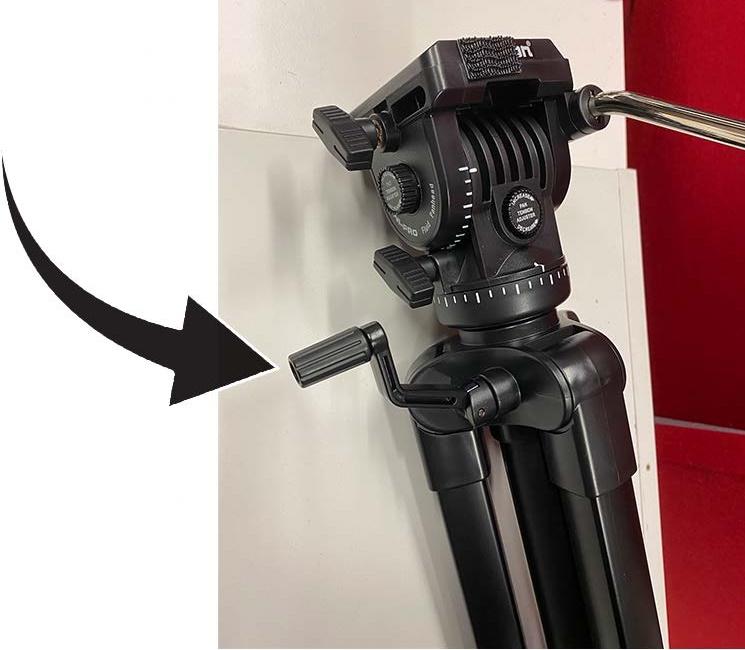
Detaching the camera from the tripod
- Pull the lock lever to the “open”position in order to lift the camera off the tripod.
- Hold the camera with your other hand as you twist the lever!
