Kaltura Timeline

Article sections
Kaltura Timeline can be used to enrich videos with presentation slides and mark important points of the video with bookmarks.
Note! If you show a Powerpoint presentation in the screen capture video produced with Kaltura Capture, these bookmarks are automatically formatted slide by slide based on the presentation slides in the video uploaded to Kaltura. The service also automatically recognizes text content on slides. When searching on the My Media page, searches are also made among these subheadings and text contents.
Use Kaltura Timeline when
- you want to manually add presentation slides to videos
- you want to bookmark important parts of the video
- Note! Timeline is not available for videos added to Kaltura from YouTube.
Quick guide to adding characters by hand
- Log in to the service kaltura.hamk.fi
- Select your video that you want to edit.
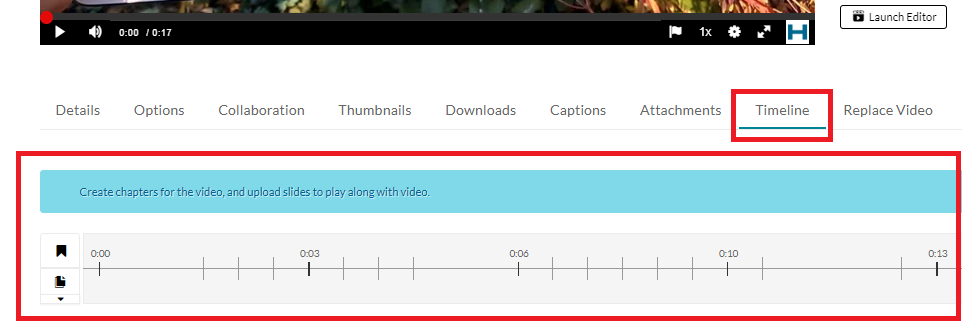
- From the Actions menu, click Edit. The timeline appears below the video player.
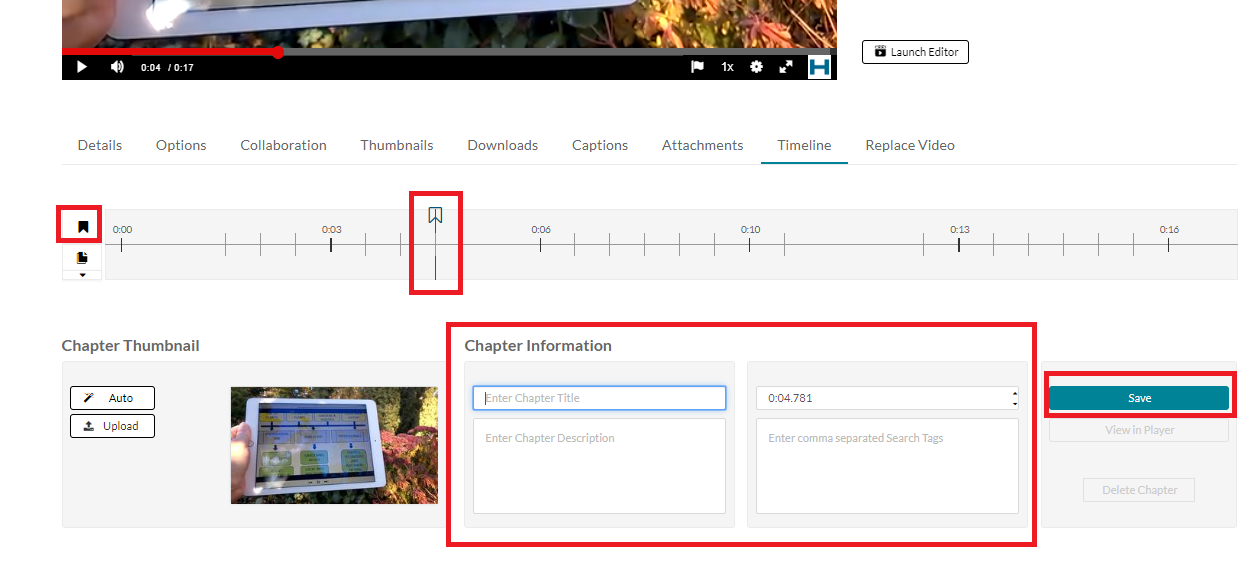
- Add bookmarks with the Chapter function. Fill in the necessary information and save.
- Add presentation slides with the Upload Slides Deck function. Move the pages to the right place and complete the information related to the pages. Save.
Quick guide for automatically generating bookmarks based on a Powerpoint presentation
- Start the Powerpoint presentation.
- Make a screen capture video with the Kaltura Capture tool.
- Upload the video to Kaltura.
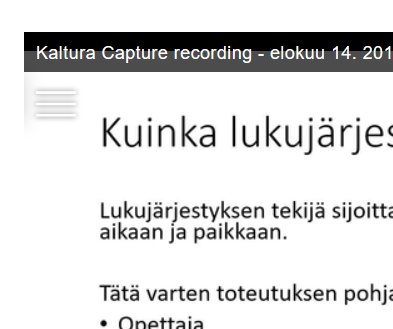
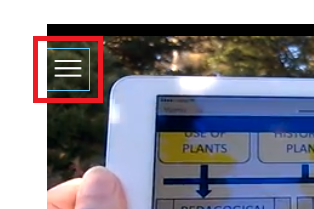
- Bookmarks are created directly on the video. The bookmark bar appears in the upper left corner of the video image.
Instructions for adding characters manually
- Log in to the service kaltura.hamk.fi
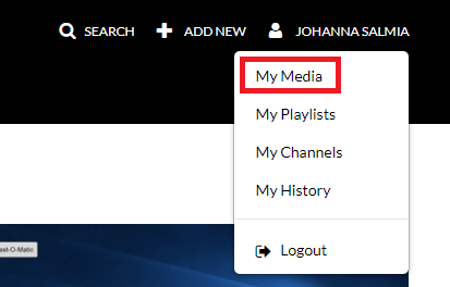
- Select the video you want to edit from the MyMedia section. This is done by clicking on the name of the video.
3. Click Edit from the Actions menu below the video. The Timeline view can be accessed from the Timeline tab below the video player.
4. The bookmark is added using the Chapter function found on the left side of the Timeline. Watch the video and stop at the point where you want to add the bookmark. Alternatively, you can click the right point in the Timeline with the mouse. After that, click on the Chapter icon, and the bookmark will appear where the cursor is at that moment. Fill in the necessary information for the bookmark and save.
The created bookmarks can be found in the bookmark menu in the upper left corner of the video.
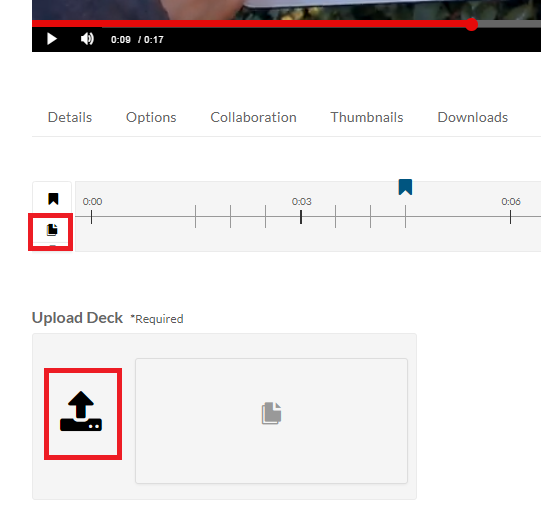
5. Presentation slides are added using the Upload Slides Deck function found on the left side of the Timeline. You can add PPT-. PPTX and PDF format files. Move the pages to the right place by grabbing them with the mouse and dragging. Complete the information related to the pages. Save.
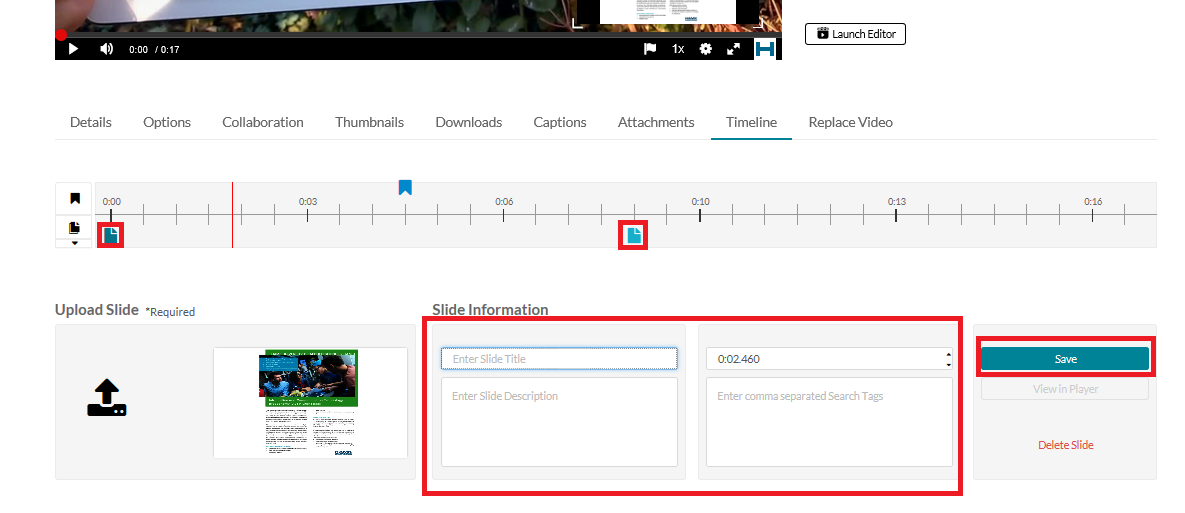
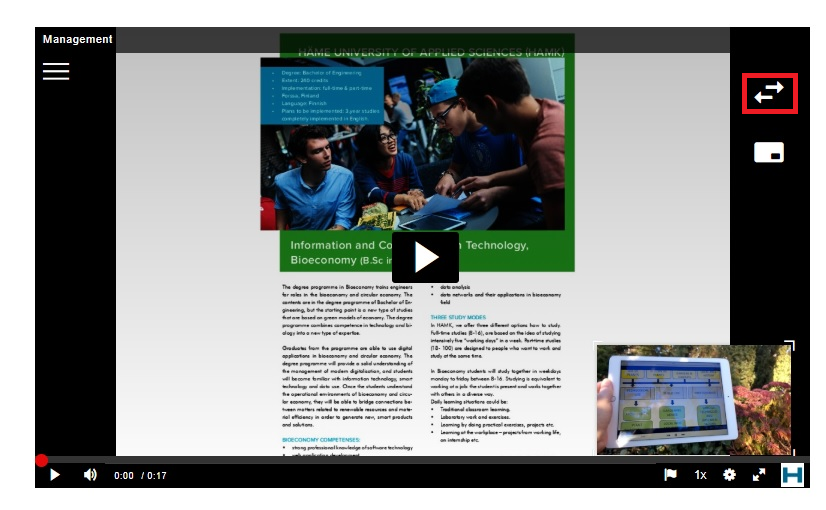
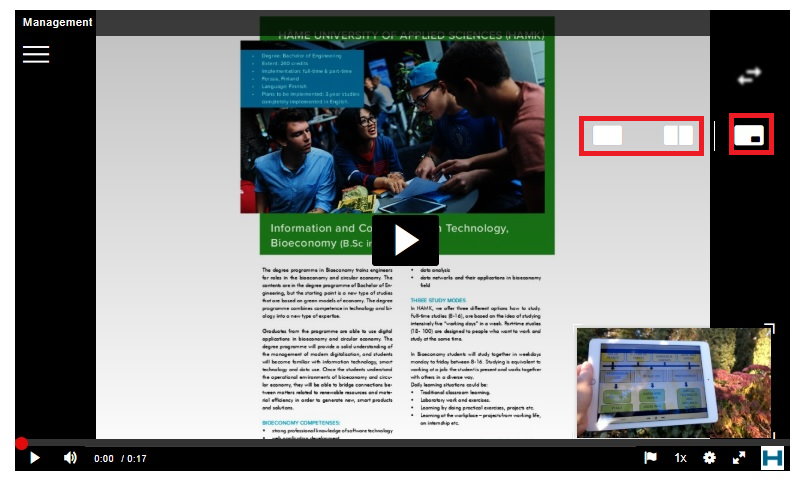
The video viewer can switch between the presentation slides and the video, or watch them side by side or nested.