Display your open badges in Moodle

Article sections
In HAMK, you can demonstrate some branches of your expertise and gain Open Badges for your expertise. It’s good to collect all your badges into your Open Badge Passport so that badges are always available.
To display your open badges in your Open Badge Passport in Moodle
- Create an Open Badge Passport for yourself.
- Take the badges.
- Make the badges you want public or visible in the Open Badge Passport.
- Add your expertise email address to your Moodle settings.
- In Moodle, specify that your Moodle profile page displays public badges.
How do I create an Open Badge Passport for myself?
- Sign up for an Open Badge Passport.
- You can assign more than one email address to the same account to collect all your badges in one open badge passport.
How do I make my open badges public?
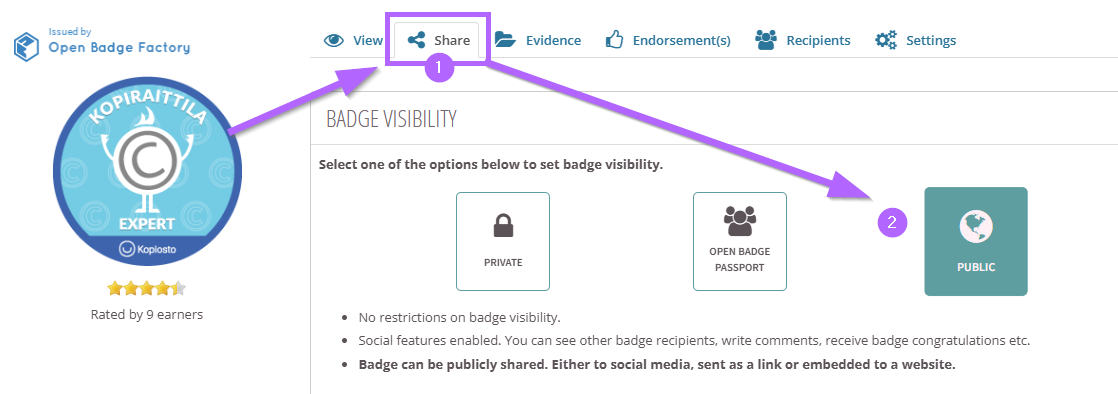
You can set the visibility individually for each open badge in the Open Badge Passport.
- Sign in to your Open Badge Passport.
- Badges / My Badges
- Select the badge and specify its visibility. (Share – set badge visibility: Private / Open Badge Passport / Public)
How do I show my badges in HAMK Learn-Moodle?
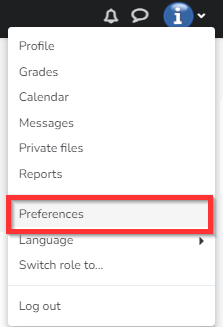
1. From the top right corner next to your name, open the menu and Preferences.
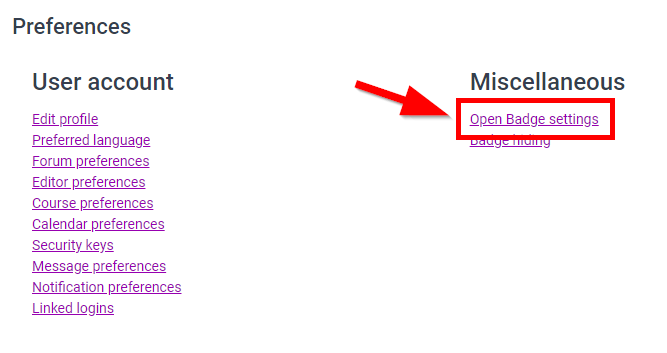
2. Preferences – Open Badge Settings
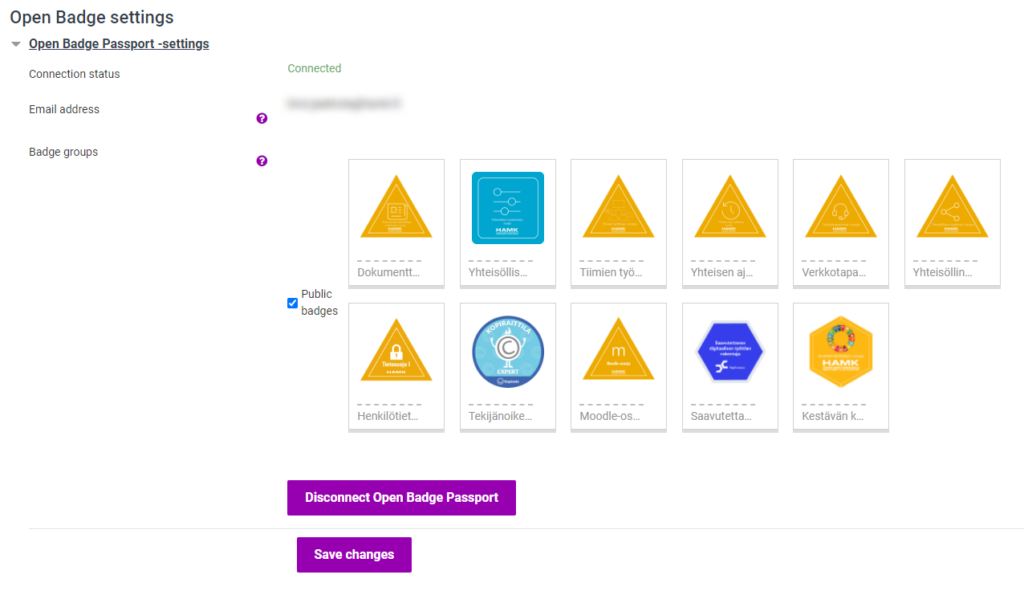
3. In the badge settings, connect your Open Badge Passport.
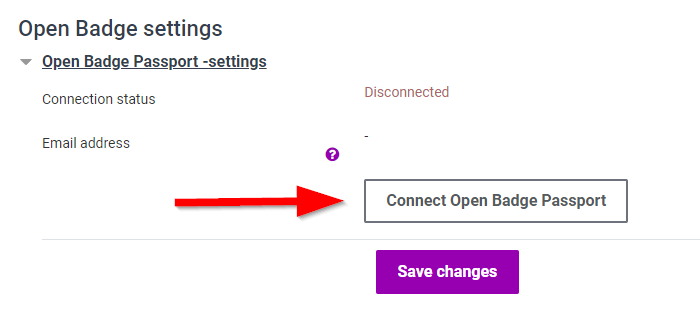
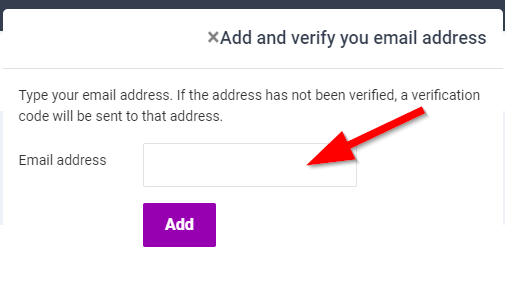
4. For your email address, add the address you have completed HAMK open badges.
5. Select to display public badges in your Moodle profile. Save.
