VDI Virtual Workstation

Article sections
The main purpose of the VDI service is to remotely use the applications used in HAMK and/or to utilize your virtual desktop in studying. Not all applications can be distributed to students’ own computers for installation, and there is no browser-based version of all applications. HAMKs Digital Services maintains the service.
VDI Virtual Workstation as part of studying and teaching
The VDI system can be used to reduce the dependence of teaching on a particular computer class, as well as to enable remote access to software installed in the VDI service. Applications installed in the VDI service can be used from all HAMK computers as well as from students’ own computers. You can log in to the service with your own personal HAMK user IDs. The virtual workstation dedicated to the students is called HAMK Students. Students are required to apply for access using the “Permissions to use VDI remote desktops” form (requires login).
VDI in remote work
Staff can use the VDI service for secure remote work, whether using a work laptop or their own home computer. You can log in to the service with your own username. The virtual workstation dedicated to the staff is called HAMK Staff.
Access to the VDI service is done with the VMware Horizon View client, which is used to contact https://vdi.hamk.fi.
Please note that all work done must be stored on HAMK’s network disks (P, S, U:) or OneDrive for Business to the cloud storage service, as unsaved jobs lose when VDI access ends and can’t be recovered.
VMware Horizon Client – Installation
- Open web page https://vdi.hamk.fi/.
- Choose “Install VMware Horizon Client” (see below).
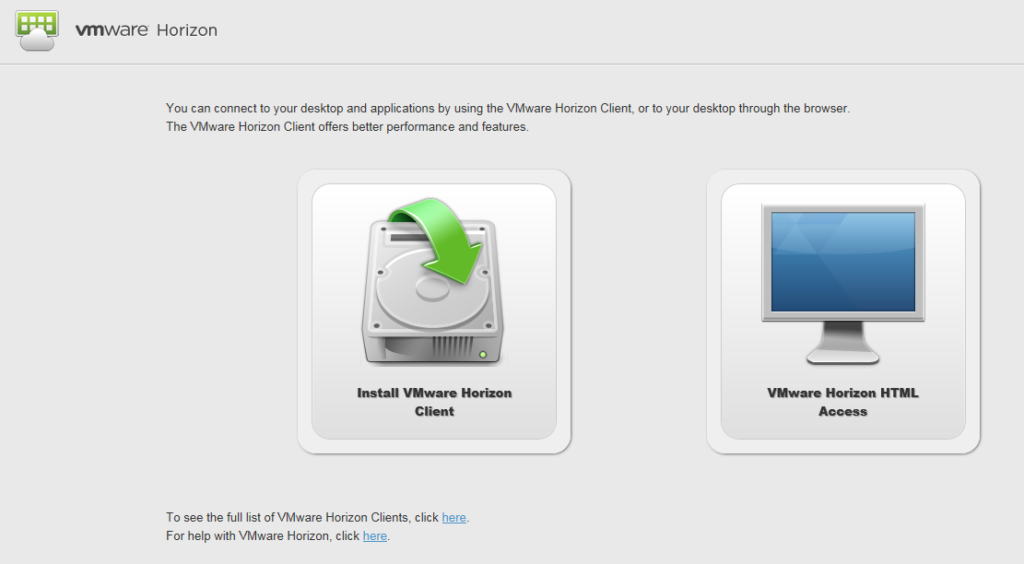
- Please select the option that is suitable for downloading on your home computer (without the Local Mode add-on) and install it by default. During installation, you can enter the default (Add Server) address as vdi.hamk.fi.
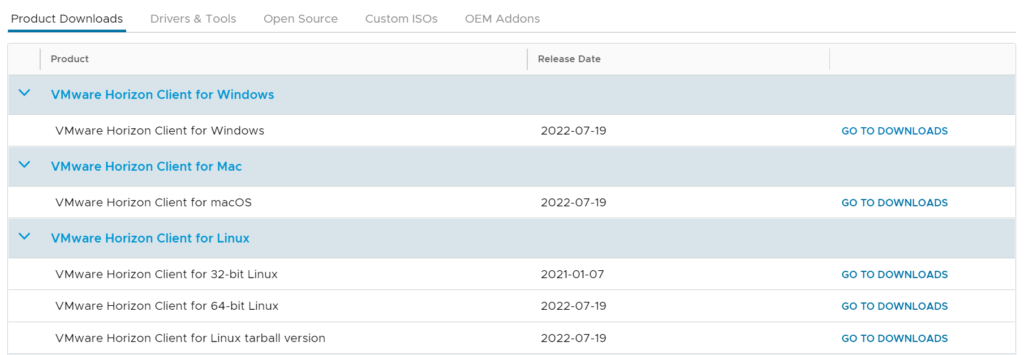
- On top of the downloaded file, double-click “Run as administrator” and install the installation package on your computer.
- At the end of the installation, the program will ask you to restart your computer. After this, the installation will be complete.
Using VMware Horizon View client
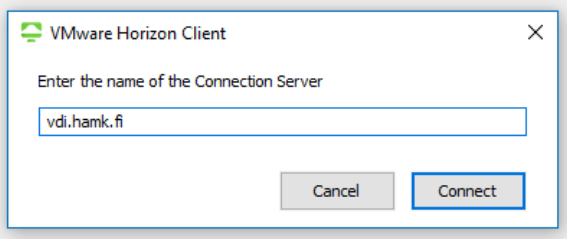
Launch the VMware Horizon Client and type the name of the Connection Server in the address bar vdi.hamk.fi. Continue with the Connect button.
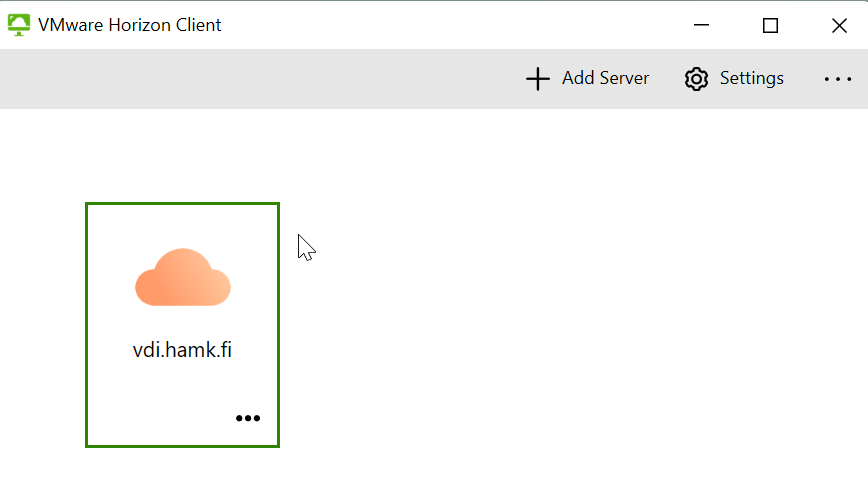
- In the future, the window view of the VMware Horizon Client will be as shown below. By double-clicking on the icon vdi.hamk.fi you can log in to HAMK’s VDI environment.
- If necessary, make the requested MFA login.
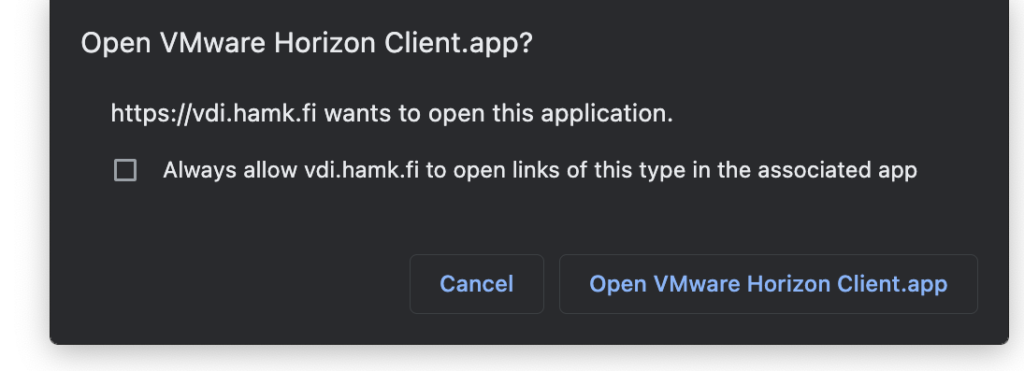
- Check the box “Always allow vdi.hamk.fi to open links of this type in the associated app”.
- Select “Open VMware Horizon Client.app”
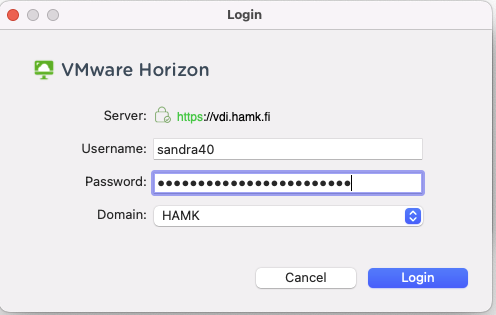
- You will be asked for hamk’s username and password. Select “HAMK“ as the Domain. Continue with the Login button.
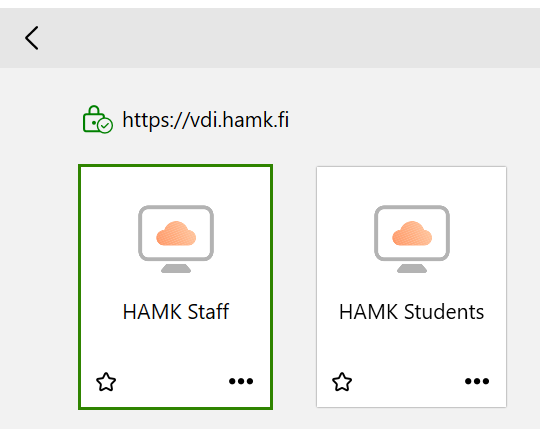
- You’ll see the VDI computers that you’ve been given access to. Double-click to select the VDI computer you want to connect to, e.g. “HAMK Students”.
Transferring files from your home computer to a VDI machine (Windows)
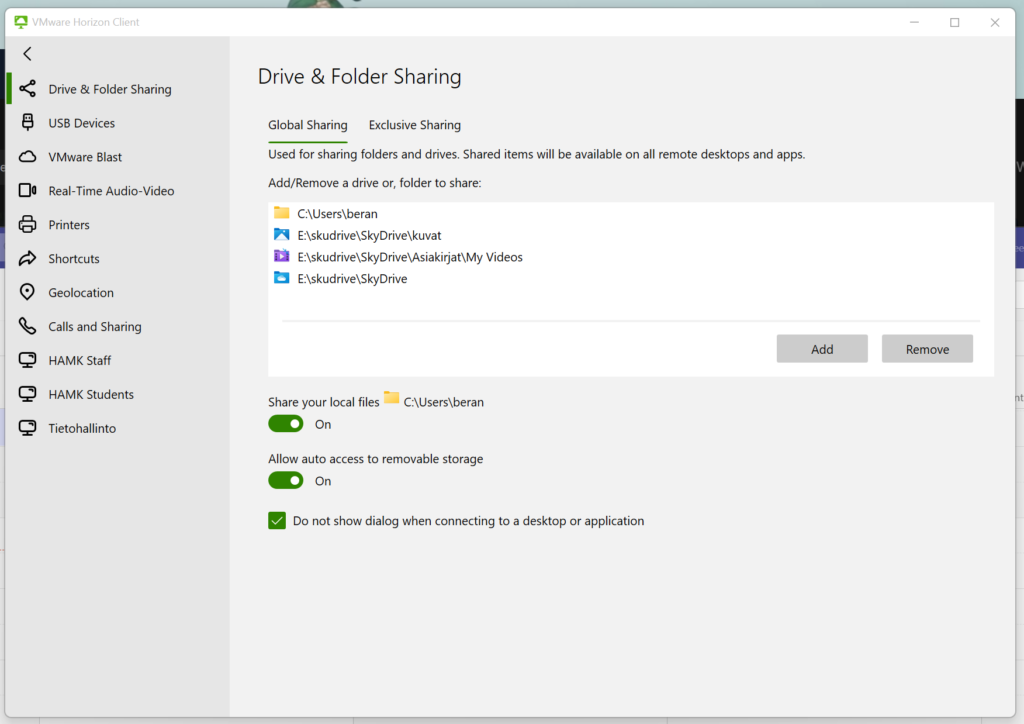
If you need to transfer files from your home computer to a VDI virtual desktop (or from a VDI virtual desktop to a home computer), you should turn on “Share your local files” and “Allow auto access to removable storages” in the settings. You can access the settings via the “gear” button in the window above by selecting Drive & Folder Sharing. In the window below you can see an example of settings.
Login to VDI workstation
Students must first apply for access using the “Access to VDI-remote desktops” to use VDI remote desktops” form (requires login).
- The username is your short useird (e.g. sandra40) and domain is “HAMK” (see below)
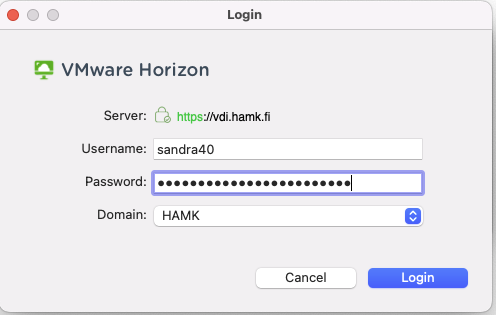
- Next, you will see all the virtual desktops (VDI workstations) that are assigned to you. By default, the staff shows “HAMK Staff” and “HAMK Students”, students only show “HAMK Students”. Click the desktop you want to open and get started.

Please note that all work done must be stored on HAMK’s network disks (P, S, U) or OneDrive for Business to the cloud storage service, as unsaved jobs lost when VDI access ends and can’t be recovered.
